nrfx-blink Step by Step
Introduction
When getting started with Embedded Swift, the examples published by Apple are really an incredible resource. However they’re just that — examples, right to the point and sometimes with minimal information. If you’re new to embedded development, you’ll need to do some additional digging (which isn’t too bad, that’s how you learn).
Embedded Swift development is very specific to the chipset that you’re targeting. As you can see, there are several examples in the repository, targeted at different boards and using different options (bare metal vs SDK/RTOS).
I’ve been mostly using the nRF52840 chip and in this post, I’ll be using an nRF52840 DK board, programming it using the nRF Connect SDK, which is based on the Zephyr RTOS project.
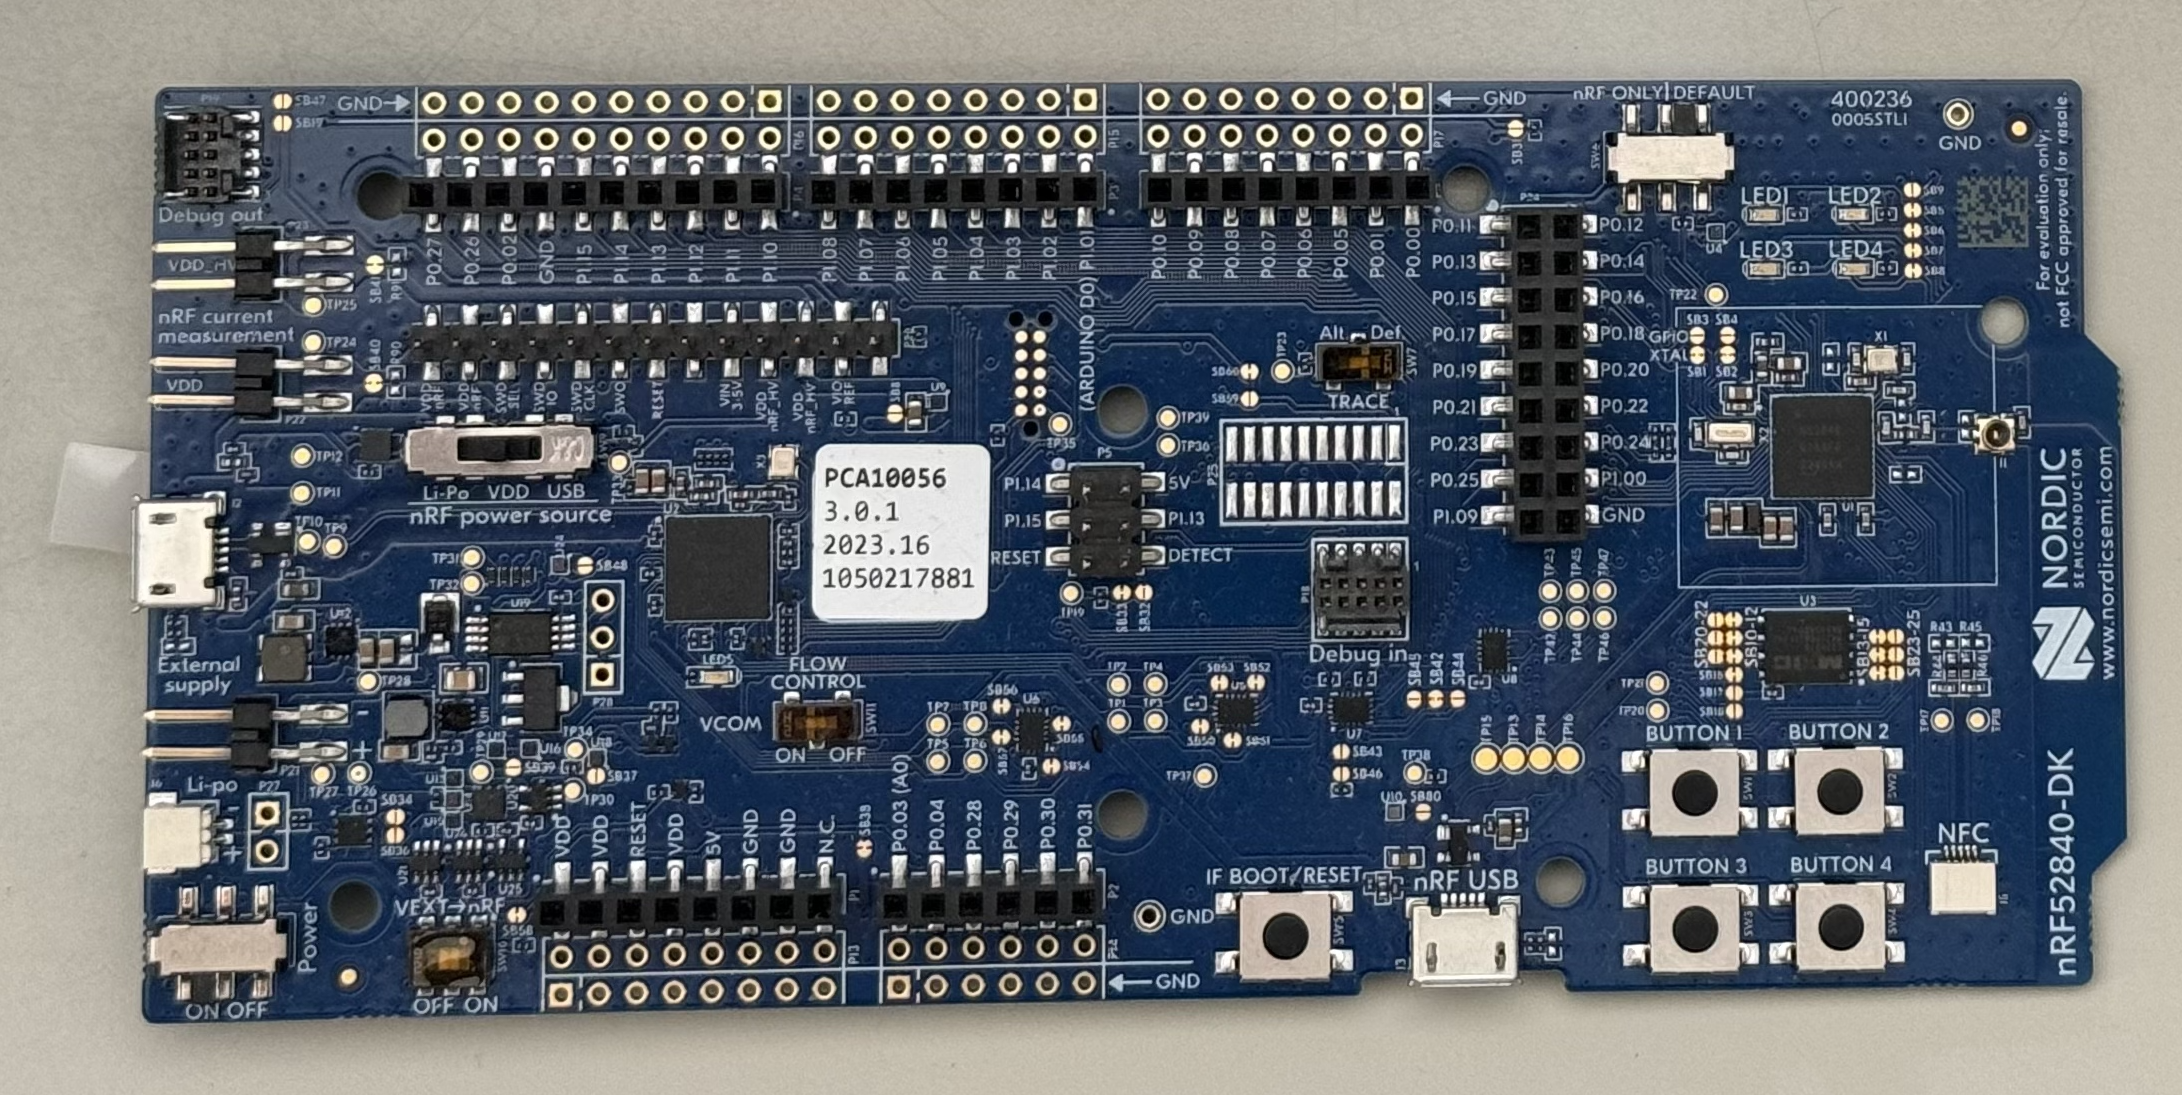
Nordic Semiconductor nRF52840 DK
This is the same board that the swift-embedded-examples/nrfx-blink-sdk example from Apple is using. The README file for that example mentions the pre-requisites to run the example, directly using Zephyr and the commands to use in a terminal to get the example running on your board. This works, and is a worthwhile test, but I don’t find it a viable way to proceed further with development.
I wanted to have the same experience in Swift that I had when developing in C with the nRF Connect SDK. That means working in an IDE (VS Code) with syntax highlighting, code completion, documentation… and a simple one-click build-and-flash mechanism.
In this post, I’ll walk you through the detailed steps to get there.
Pre-requisites
If you don’t have Xcode installed on your machine, start there. This will make sure Git is available (which is required by some components during the installation) and that you’ll be able to select the proper toolchain for Embedded Swift compilation. Also, just launch Xcode at least once to ensure all extra components are installed and you automatically accept the license agreement.
For this post, I worked on macOS Sonoma, using Xcode 15.4
Installing the native toolchain
Instead of installing the Zephyr SDK as suggested in the example, I’ll be working from the nRF Connect SDK, which is Nordic Semiconductor’s take on Zephyr and makes working with their board slightly easier.
They have a video tutorial for that, but I’ll go through all the steps here.
nRF Command Line Tools
Start by installing the nRF Command Line Tools, which you can download from the Nordic Semiconductor site. Scroll down to the Downloads section, select your platform (macOS in this case) and download the installer.
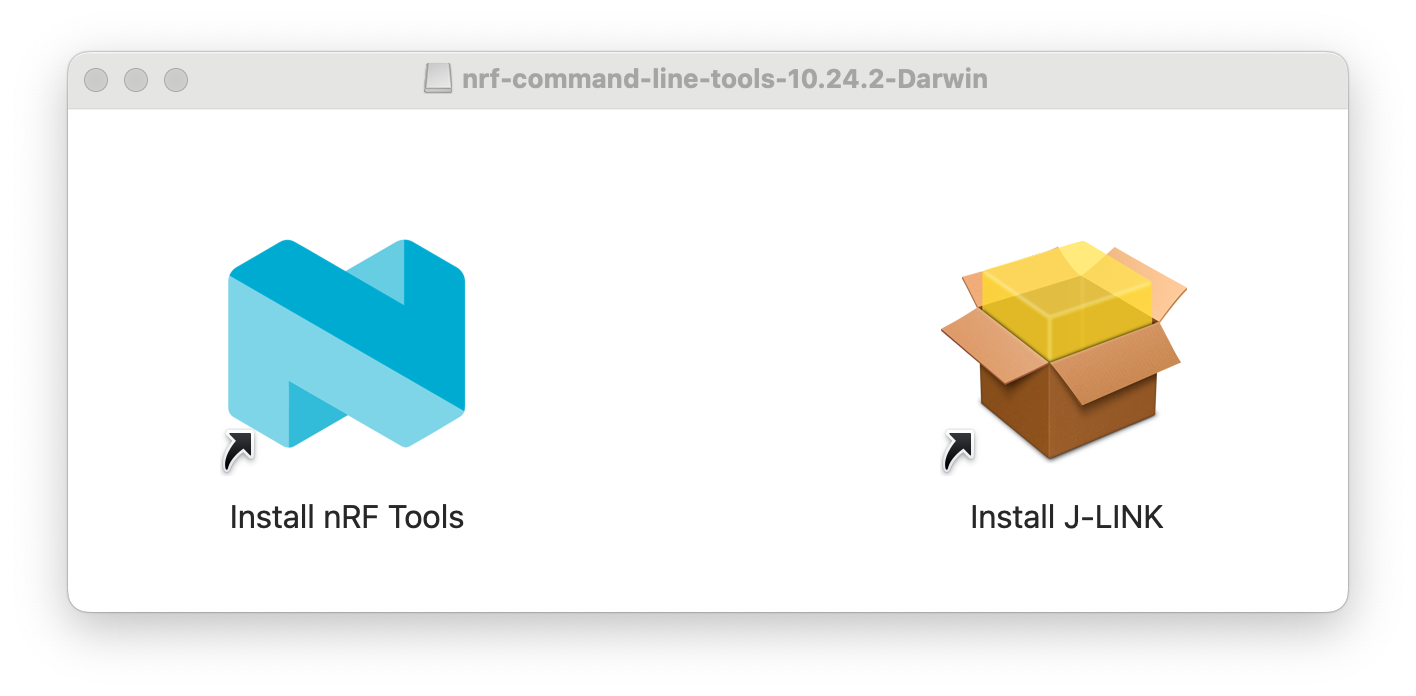
nRF Command Line Tools installer disk image
Launch the Install nRF Tools installer and proceed, keeping the proposed options.
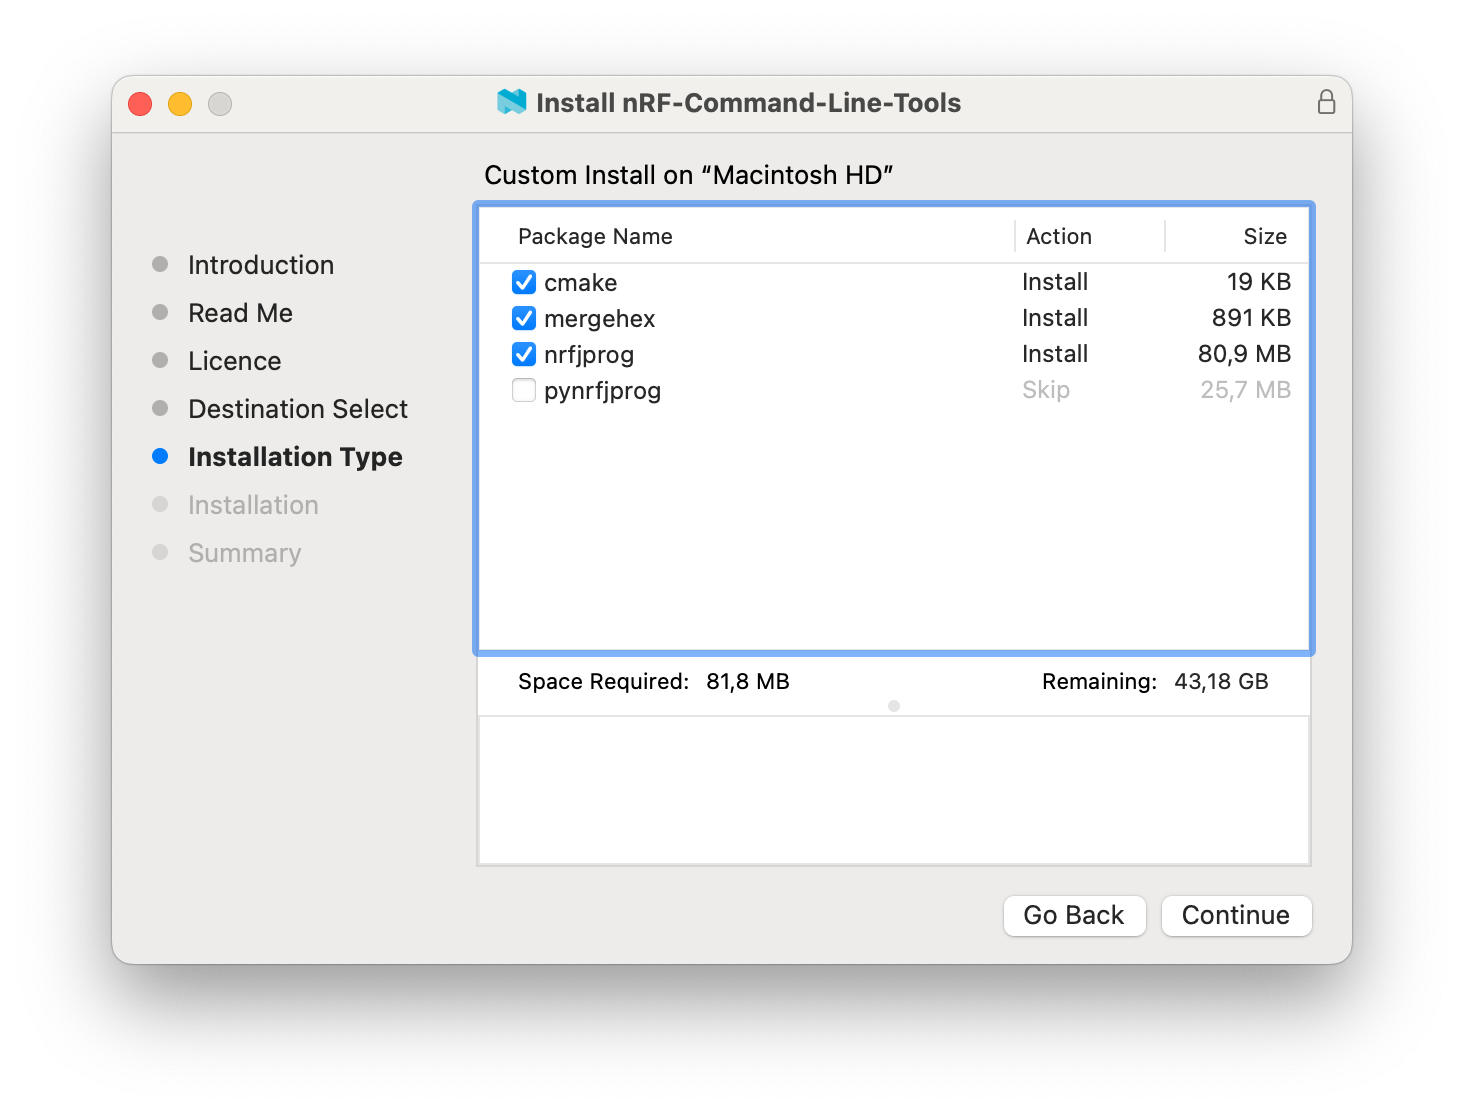
nRF Command Line Tools installer options
J-Link software
In addition to the command line tools, the installer disk image also contains a version of the J-Link software from SEGGER. This is an older version and I prefer downloading a more recent one directly from the SEGGER website at SEGGER - The Embedded Experts - Downloads - J-Link / J-Trace.
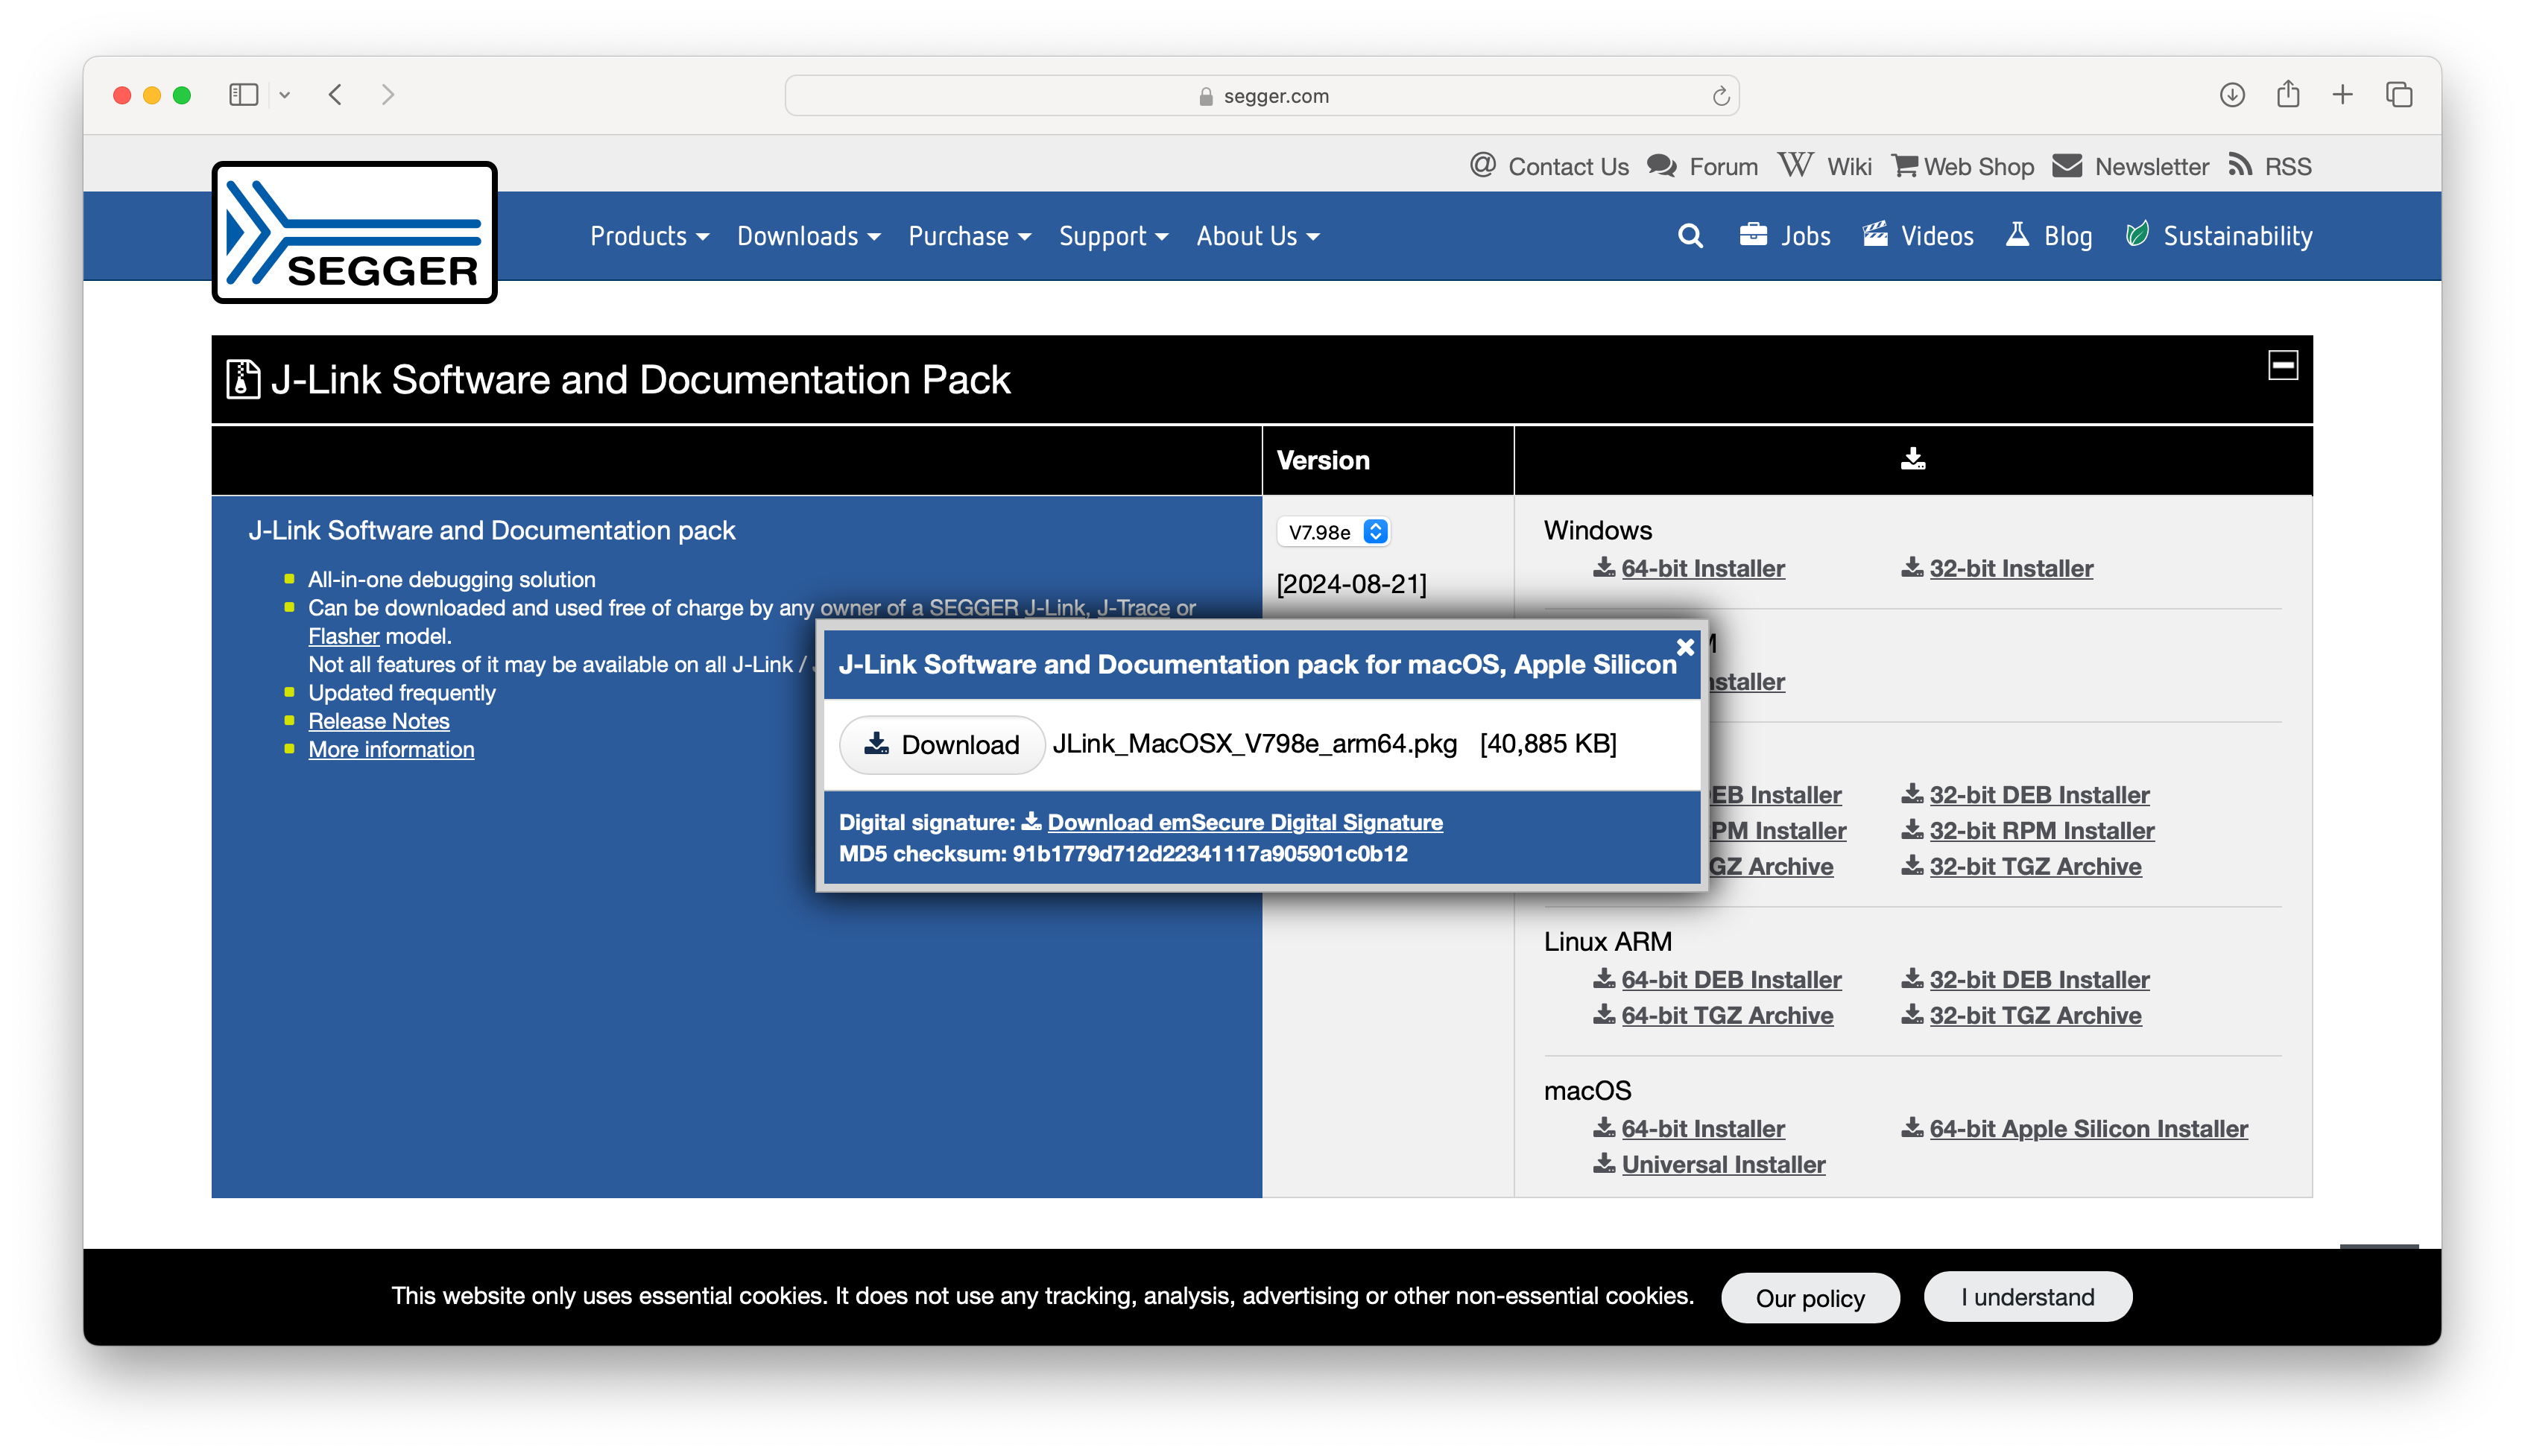
SEGGER J-Link Software download
Select that latest version (with the same major version as the one bundled with the nRF tools, V7 at this time) and download the appropriate version for your OS.
The site displays the checksum for the download. It’s always a good idea to verify it.
This command achieves this in one go
diff -s <( printf '%s\n' "9161779d712d22341117a905901c0b12" ) <( md5 -q - JLink_MacOSX_V798e_arm64.pkg )
Once the signature checks out OK, proceed with the installation of the downloaded package.
VS Code and nRF Connect SDK extension
The next step is to install VS Code, download it from Download Visual Studio Code - Mac, Linux, Windows, extract the downloaded zip and move that to the /Applications folder.
Launch it, select the Extensions View from the Activity Bar on the left and search for “nrf connect”. You will have multiple matches, make sure you select “nRF Connect for VS Code Extension Pack” and click “Install”.
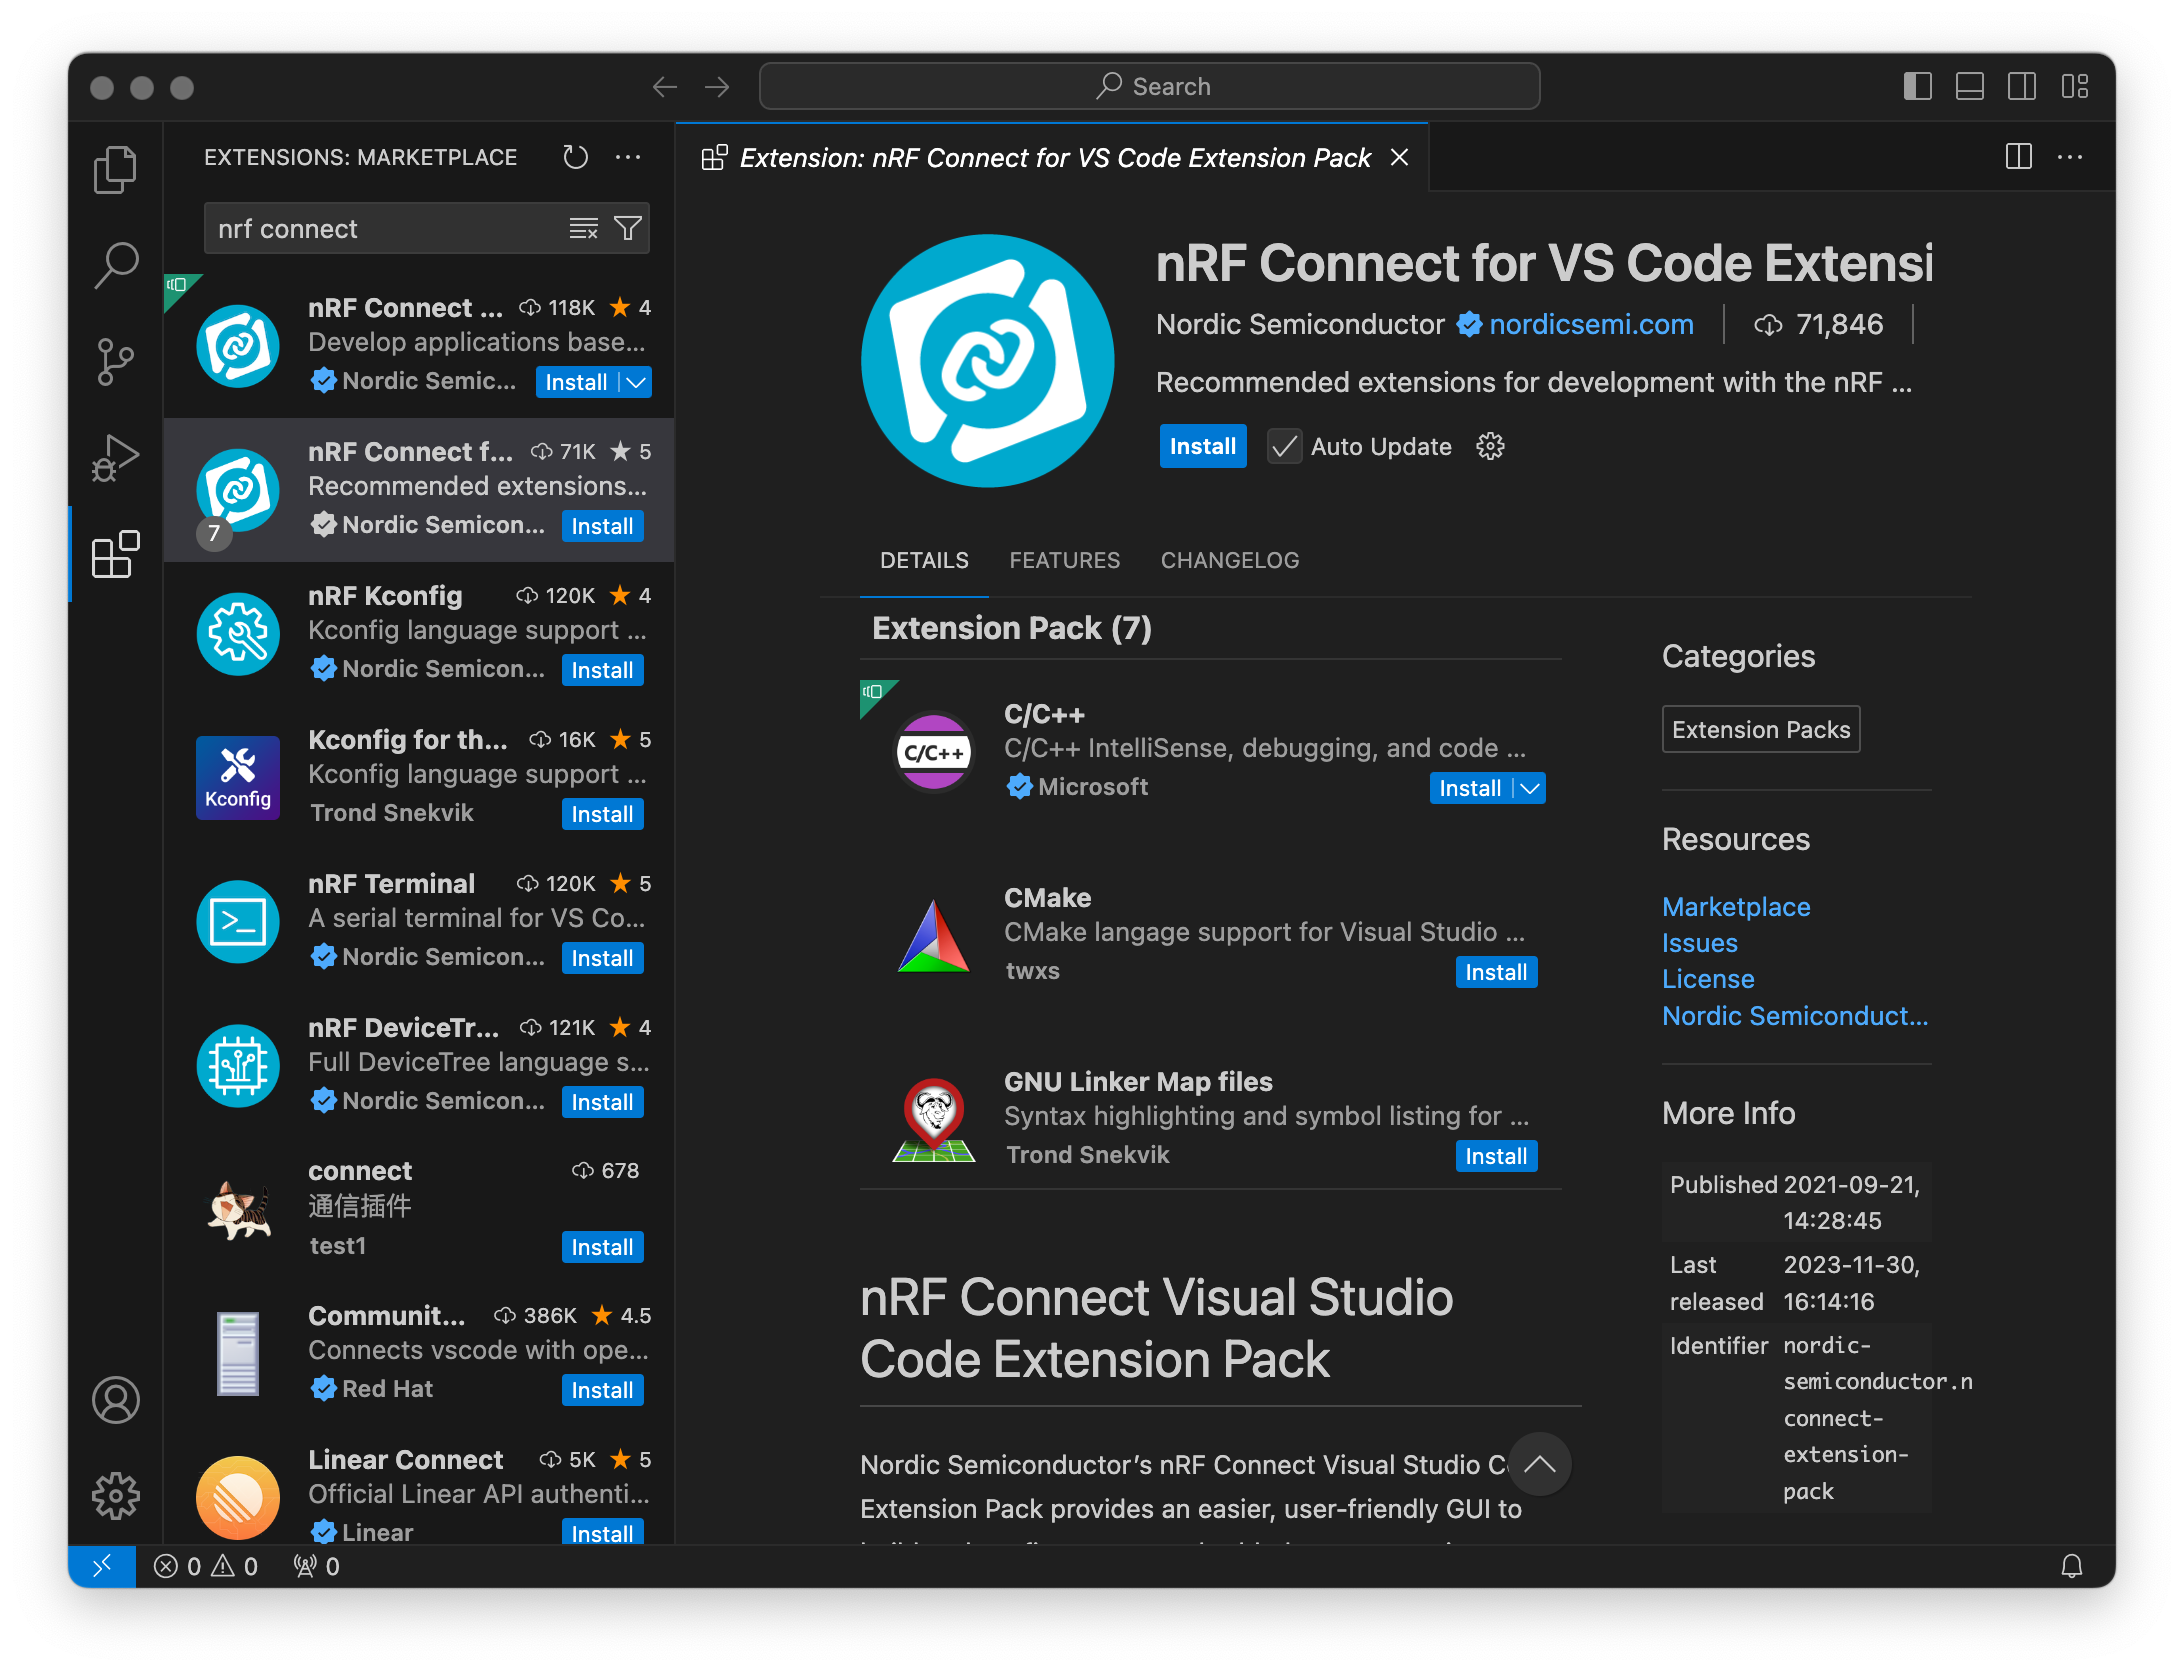
Install the nRF Connect for VS Code Extension Pack
Once the installation is finished, new icons appear in the Activity Bar, select the nRF Connect View.
The only thing the view should contain at this point is an “Install Toolchain” button, click on it to proceed.
From the list that appears, select the latest version of the toolchain available.
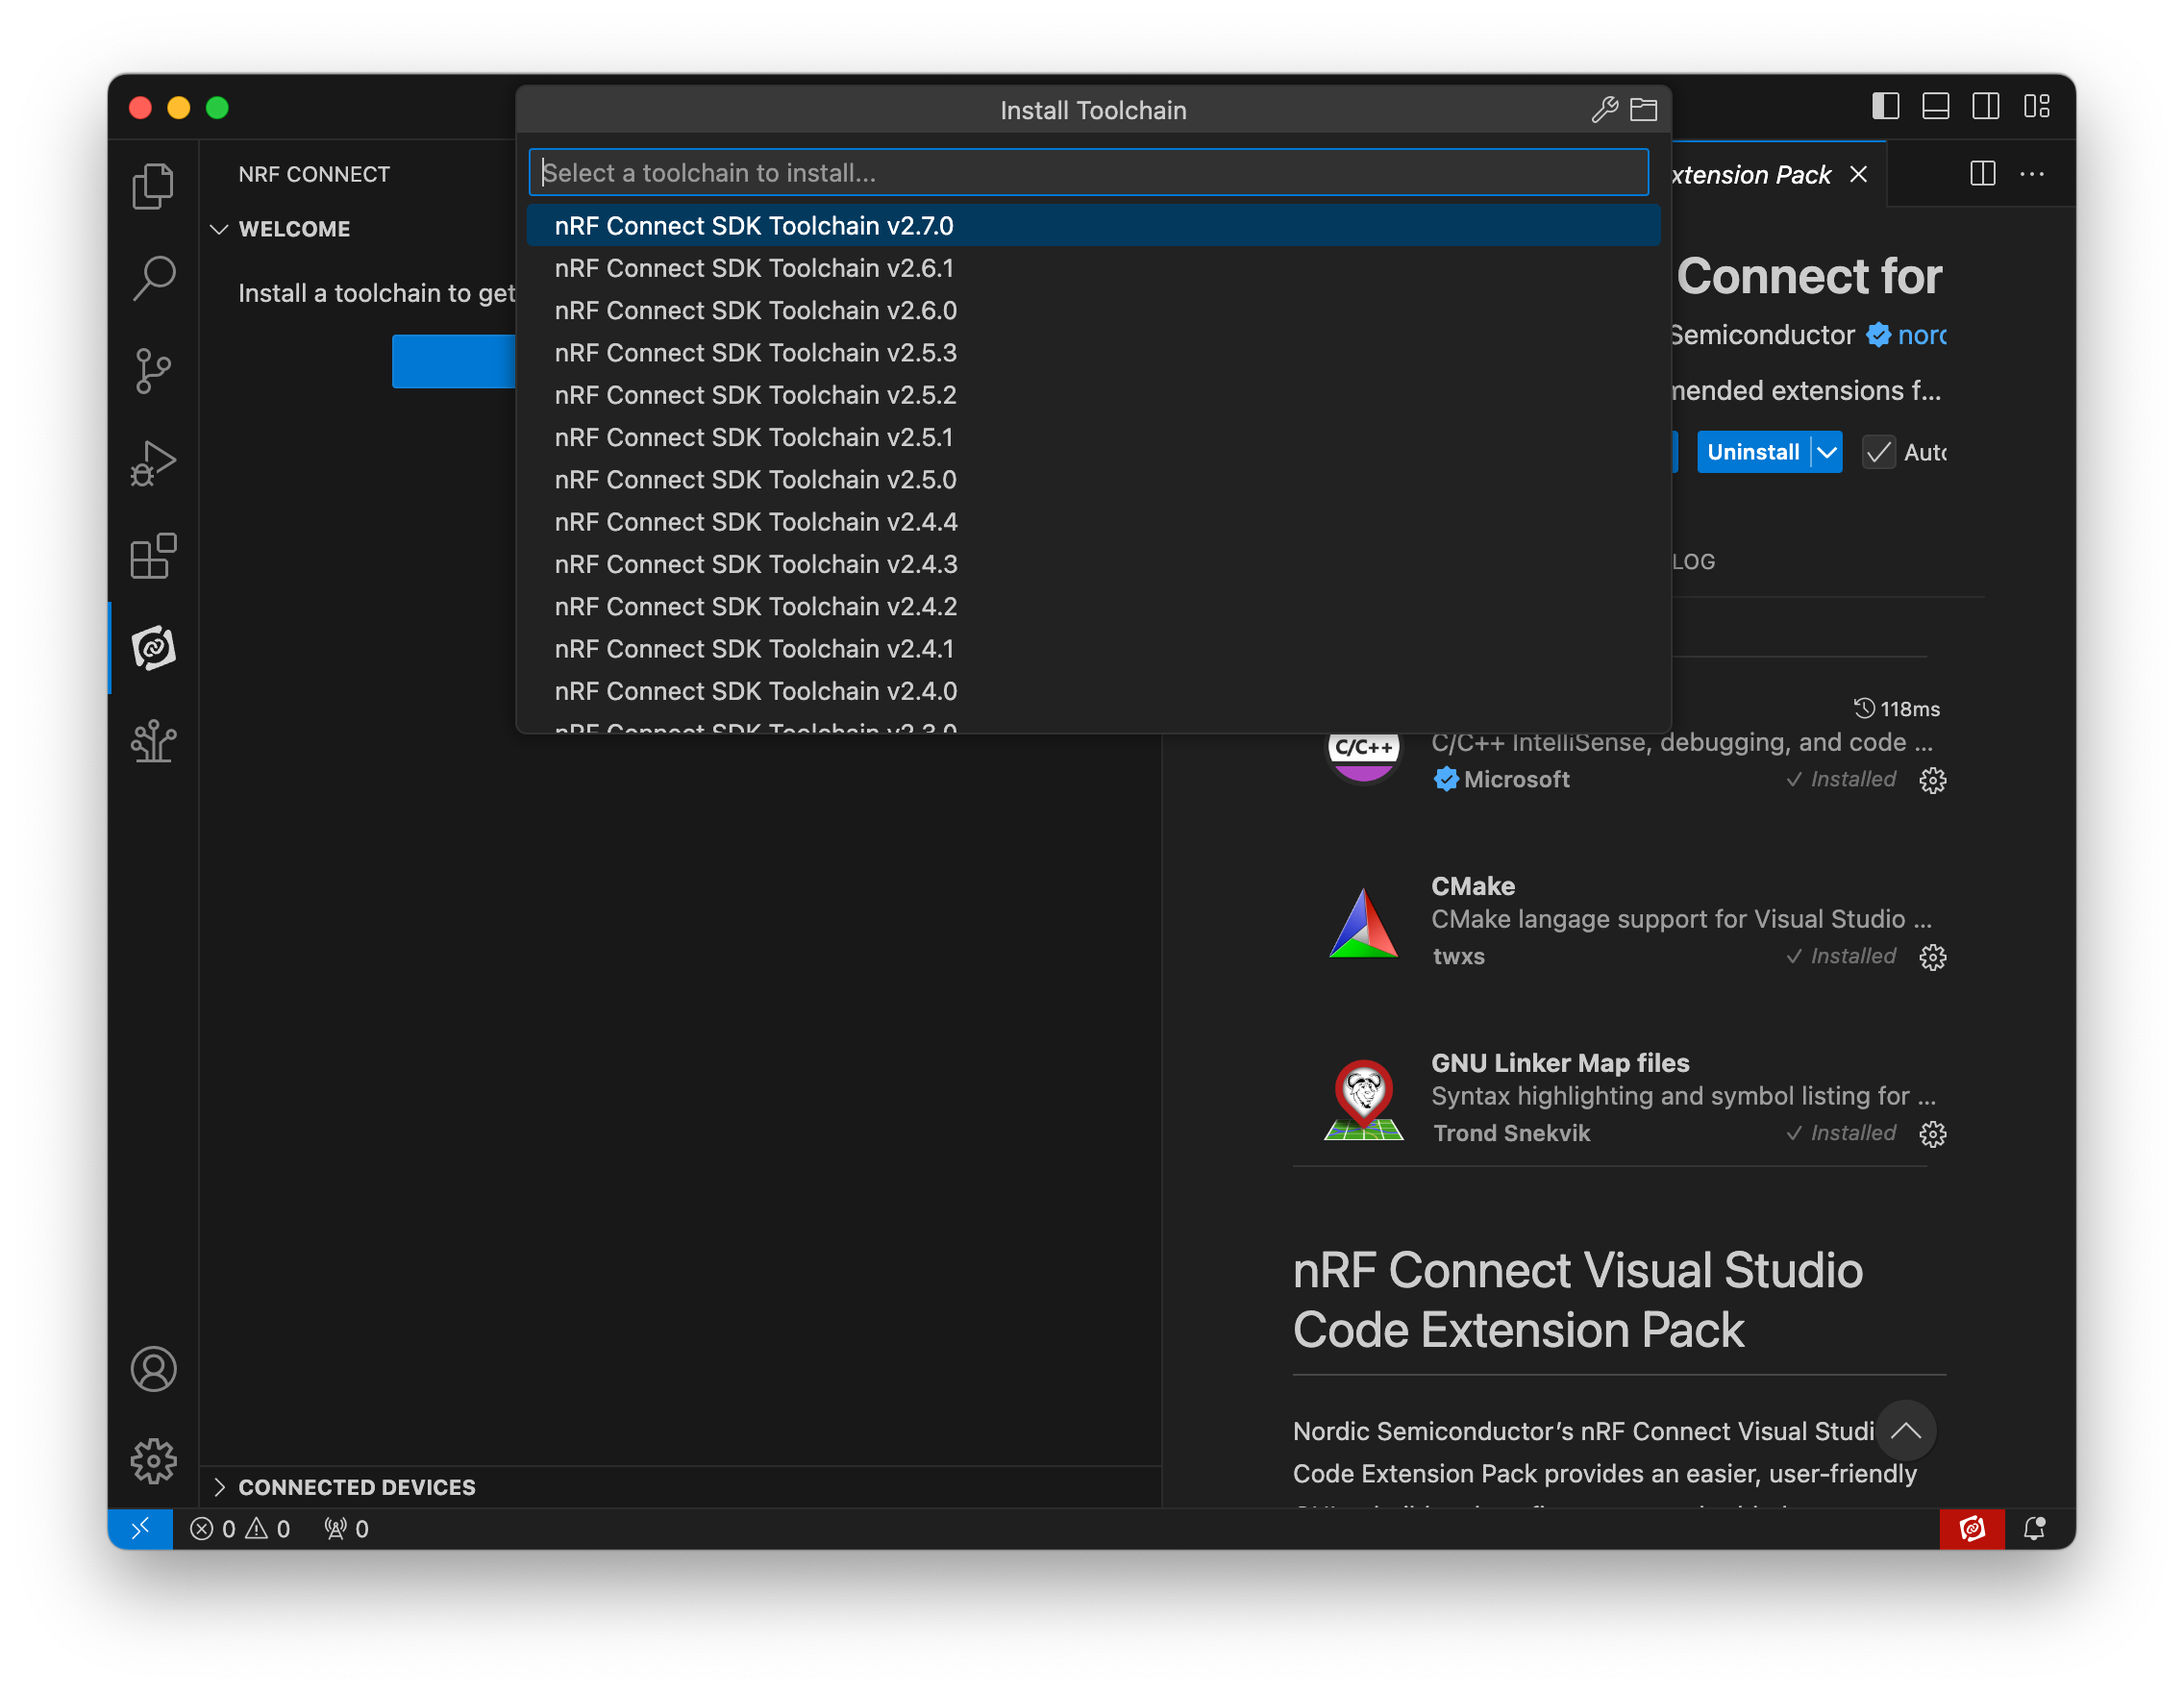
Select nRF Connect SDK Toolchain to install
Once the toolchain is installed, the view refreshes with several options. Select the “Manage SDKs” one, then “Install SDK” and select the latest stable SDK available; currently this is v2.6.1.
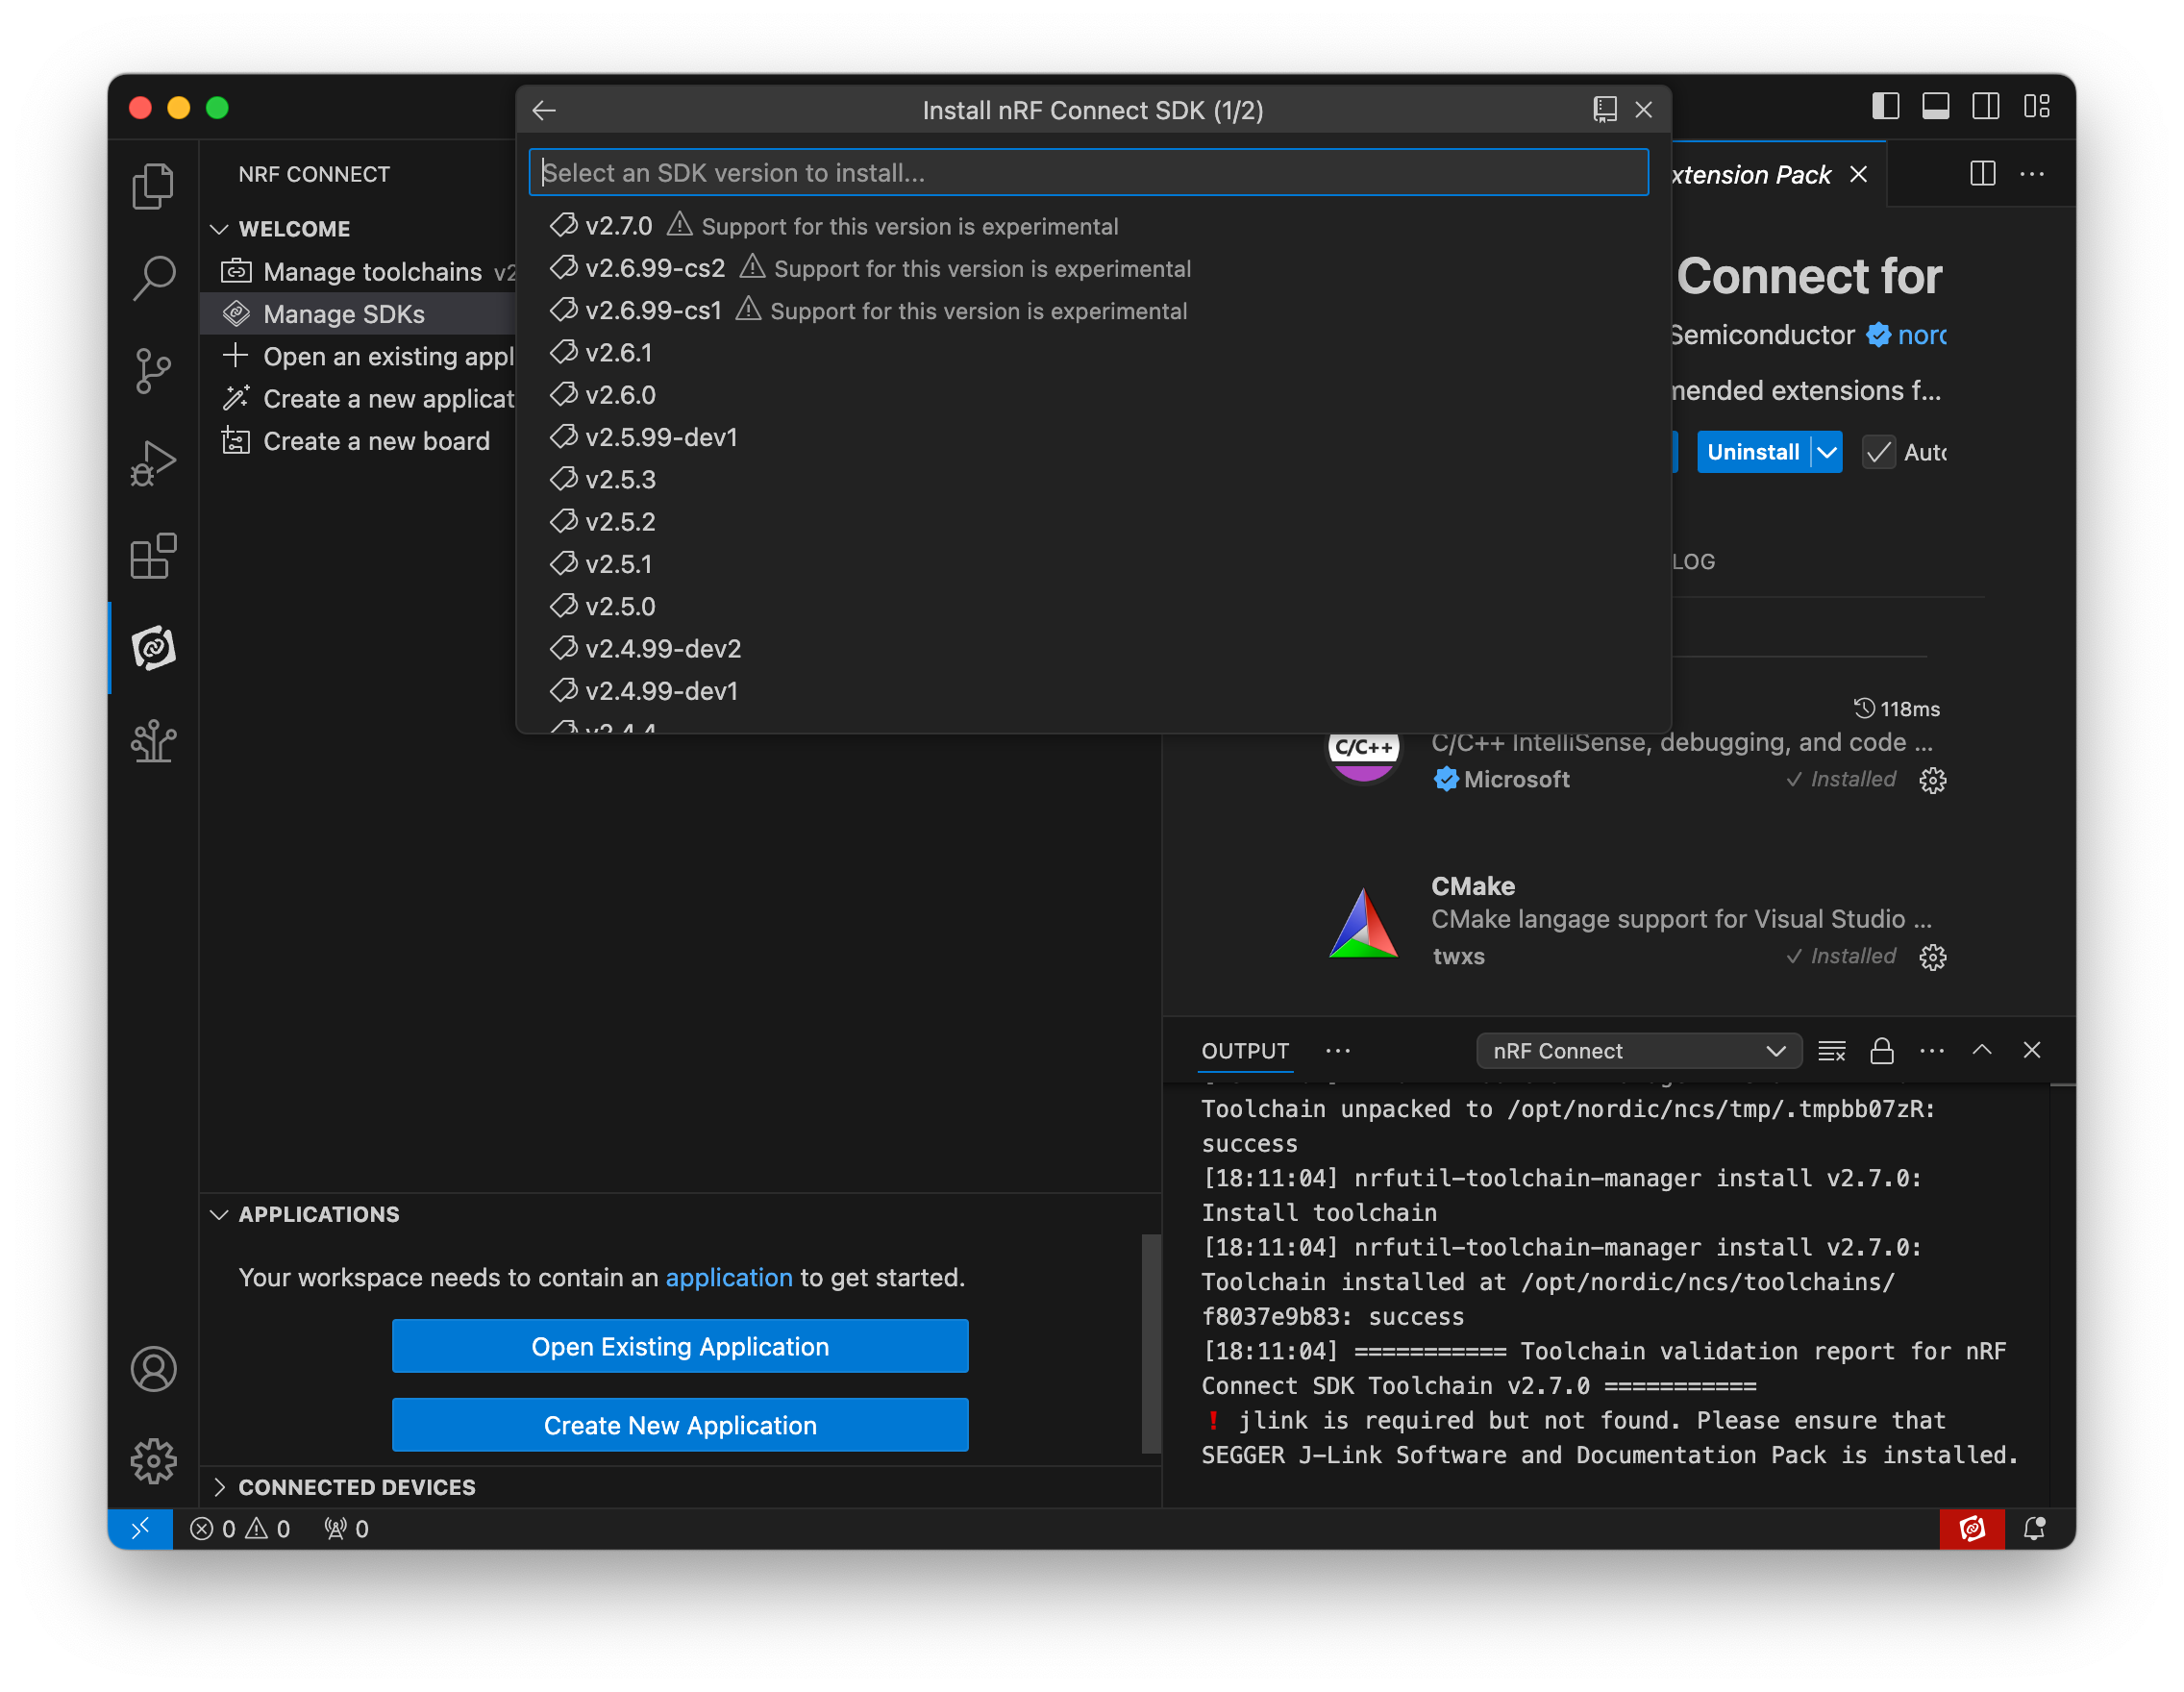
Select nRF Connect SDK to install
Info
If you don’t have Xcode installed, this will trigger an installer for the command line developer tools, so that Git is available. Watch for the installer icon appearing in the dock and its window behind the VS Code one.
Warning
I have sometimes seen the installation trigger a Git error and getting stuck at this point.
It that happens to you, cancel the installation and quit VSCode.
Open a terminal window and execute the following commands (this cleans the folder with a partial bogus installation. Adapt the folder name based on the SDK version you tried to install).
cd /opt/nordic/ncs
rm -rf v2.6.1
Then enter this command, it’ll fix the Git issue encountered before
git config --global http.postBuffer 157286400
Re-launch VS Code and re-start the SDK installation, this time it should go through.
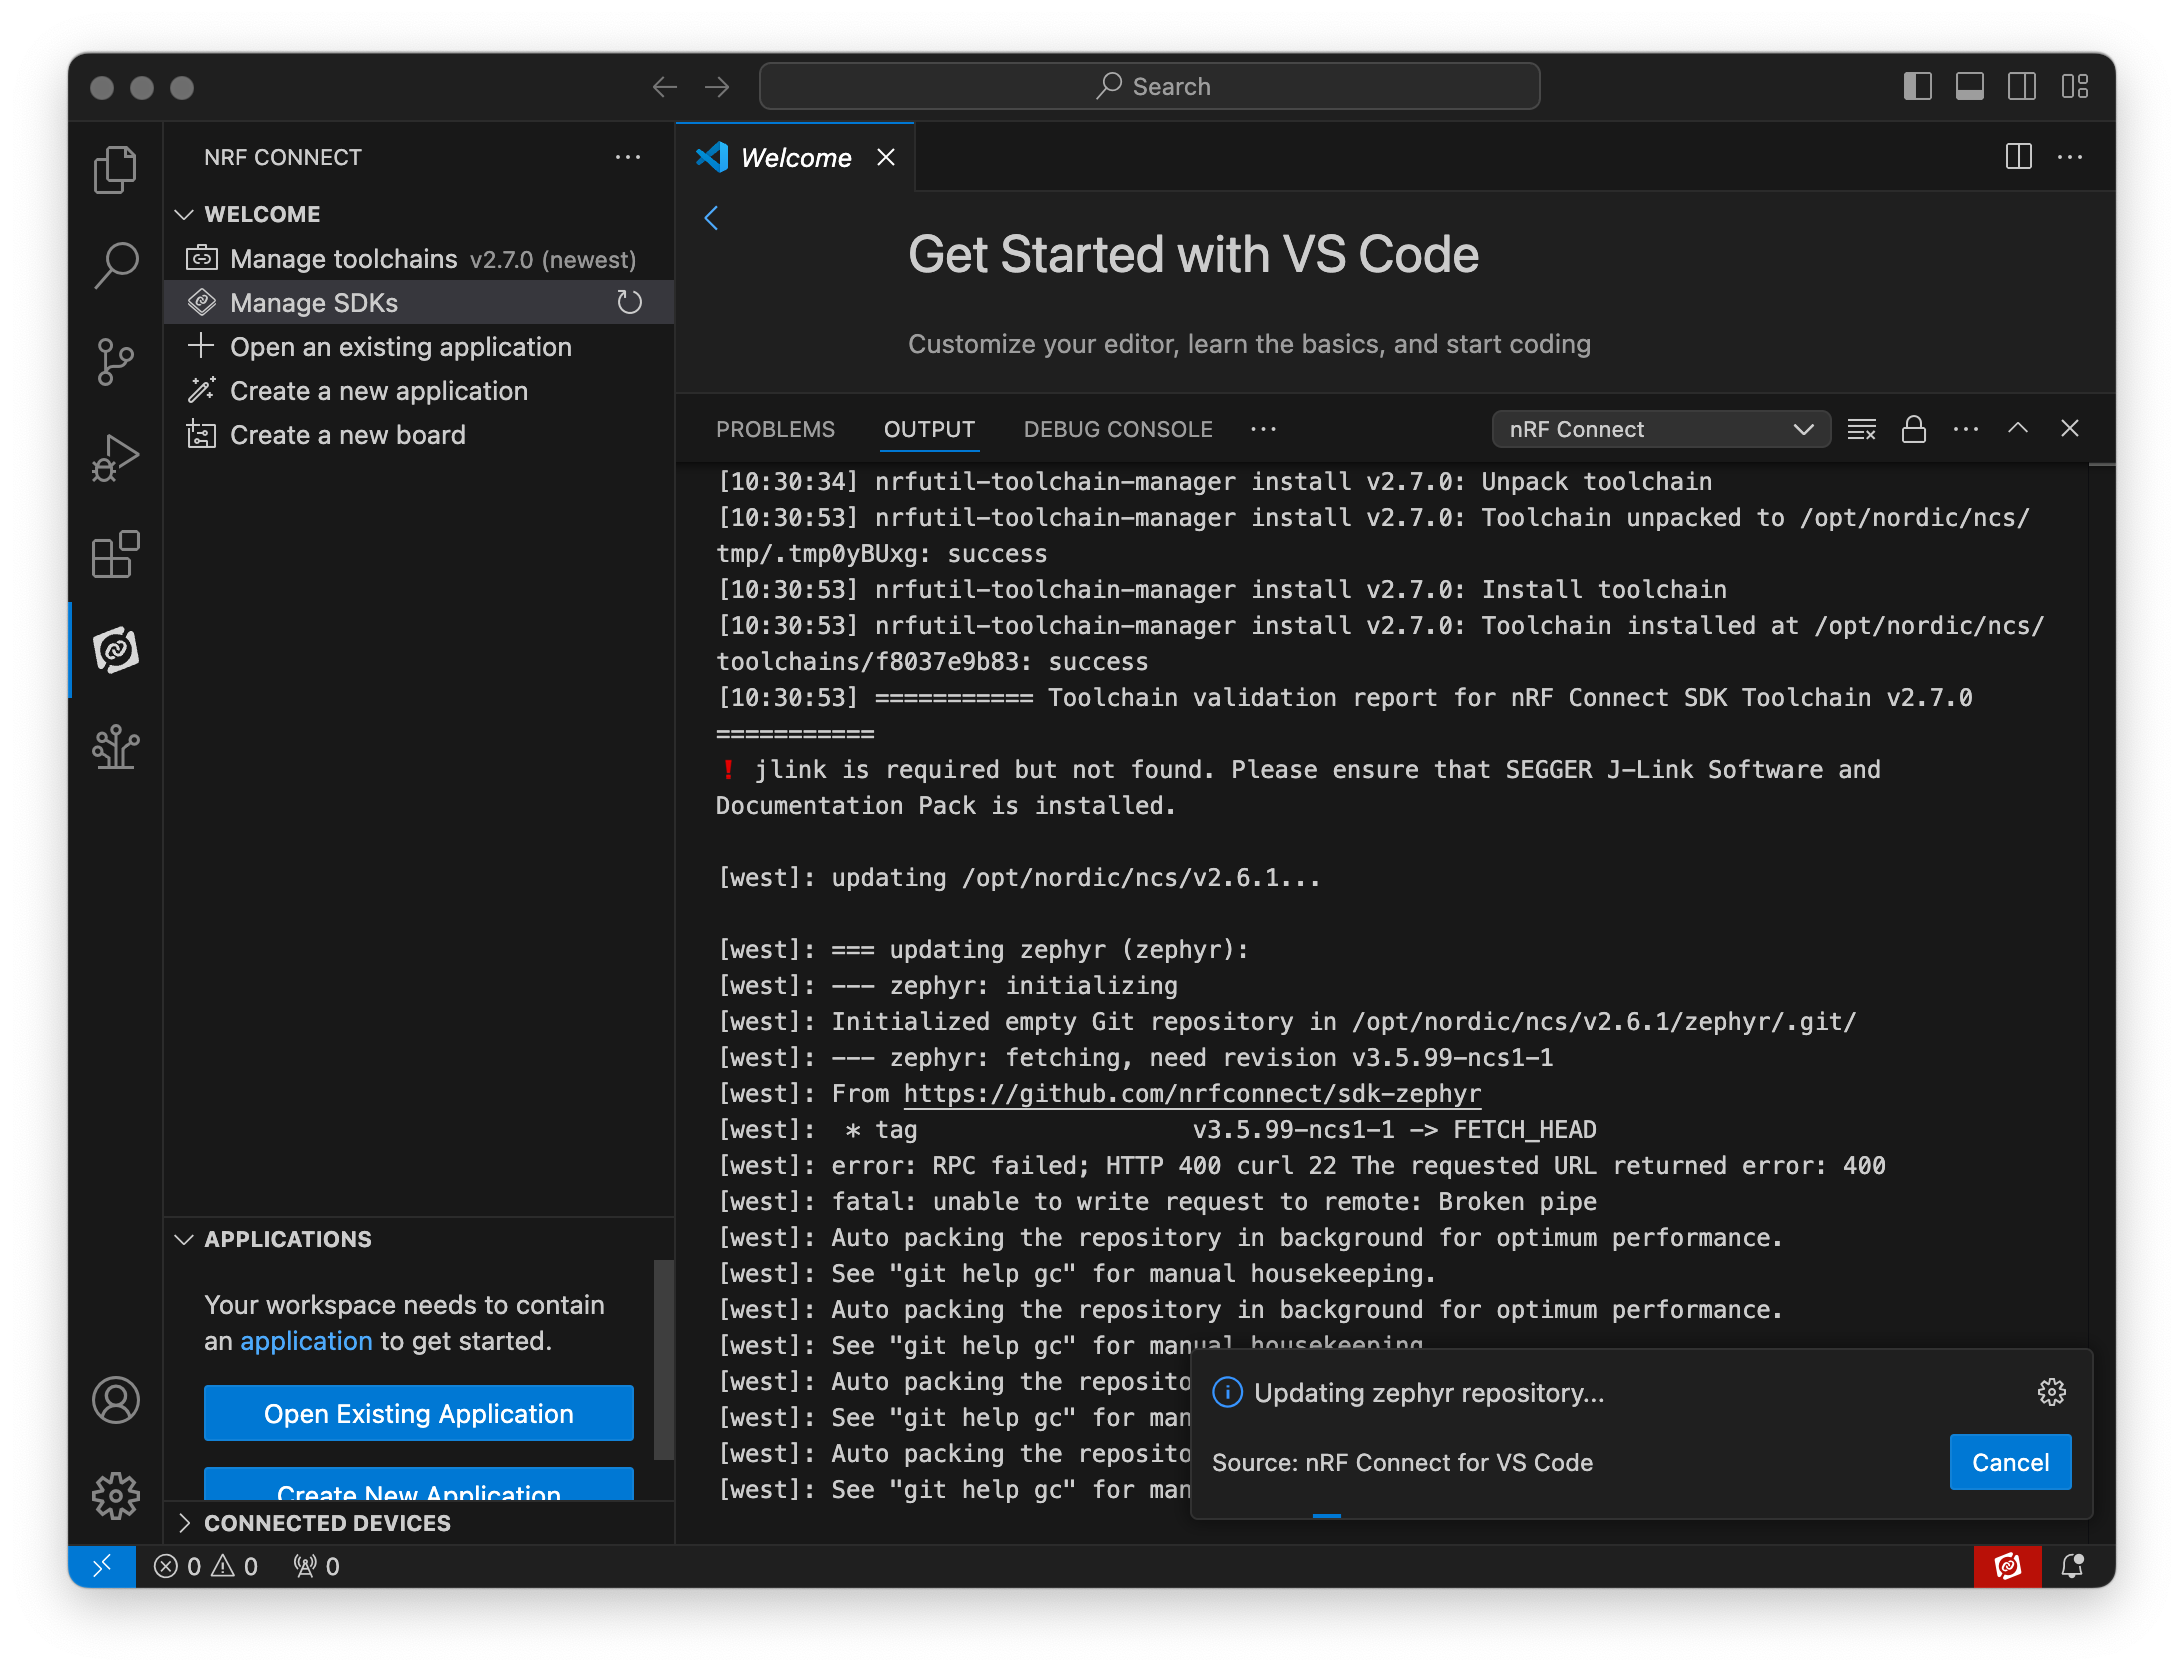
Git error during nRF Connect SDK installation
Info
An alternative method to install the nRF Connect SDK is to first install the nRF Connect for Desktop application, then install the Toolchain Manager, then install the SDK from there.
Using that method, I have not encountered the Git error mentioned above.
With these steps, we’re done installing the nRF Connect tools and SDK.
Installing the Swift snapshot toolchain
Embedded Swift requires a recent snapshot version of the Swift toolchain, which can be found at Swift.org - Download Swift. Download the package and install it.
After installation, perform a quick check; in a terminal, run
swift --version
This should display the standard swift version bundle with your installed Xcode, that would be 5.10 for Xcode 15.4
ls -l /Library/Developer/Toolchains
should list all the available toolchains, including the one you just installed. Running
plutil -extract CFBundleIdentifier raw /Library/Developer/Toolchains/swift-latest.xctoolchain/Info.plist
provides you with the ID of the latest installed toolchain; which you can use in your export statement, such as in
export TOOLCHAINS='org.swift.61202408261a'
Running
swiftc --version
should now reference the Swift version you just installed.
Info
For more information on installing and selecting a Swift toolchain, as well as potential gotchas, check out the great Building with nightly Swift toolchains on macOS post by Ole Begemann.
Installing Cmake
The nRF Connect toolchain installed via VS Code includes Cmake, but it’s currently an older version, one that does not support Swift.
You’ll need to install a newer version, which I found most easily done via Homebrew.
Info
If you don’t have Homebrew installed yet, head over to Homebrew — The Missing Package Manager for macOS (or Linux) and follow the instructions.
From a terminal, simply run
brew install cmake
and you should be good.
Build the blinky example via the terminal
Let’s verify that we can build an Embedded Swift program using the Apple provided examples.
Clone the repository from apple/swift-embedded-examples: A collection of example projects using Embedded Swift
git clone https://github.com/apple/swift-embedded-examples.git
Go into the nrfx-blink-sdk folder and run
export TOOLCHAINS='org.swift.61202408261a'
cmake -B build -G Ninja -DBOARD=nrf52840dk_nrf52840 -DUSE_CCACHE=0 .
cmake --build build
to build the example.
That should return a success. Now clean-up the build folder as we’ll re-create it from within VS Code
rm -rf build
In VS Code
From the menu, select “File” -> “Open Folder…” and select the nrfx-blink-sdk folder. Open the nRF Connect View from the Activity Ba* and under Appllications, click on “Add build configuration”.

Add a build configuration to the nrfx-blink-sdk project
The correct board (nrf52840dk_nrf52840) is already selected by default (adapt if you’re using a different board). Scroll down and click on “Build Configuration”.
This will fail, reporting an insufficient version of CMake. As mentioned above, the version included in the nRF toolchain is outdated and we need to use a newer one.
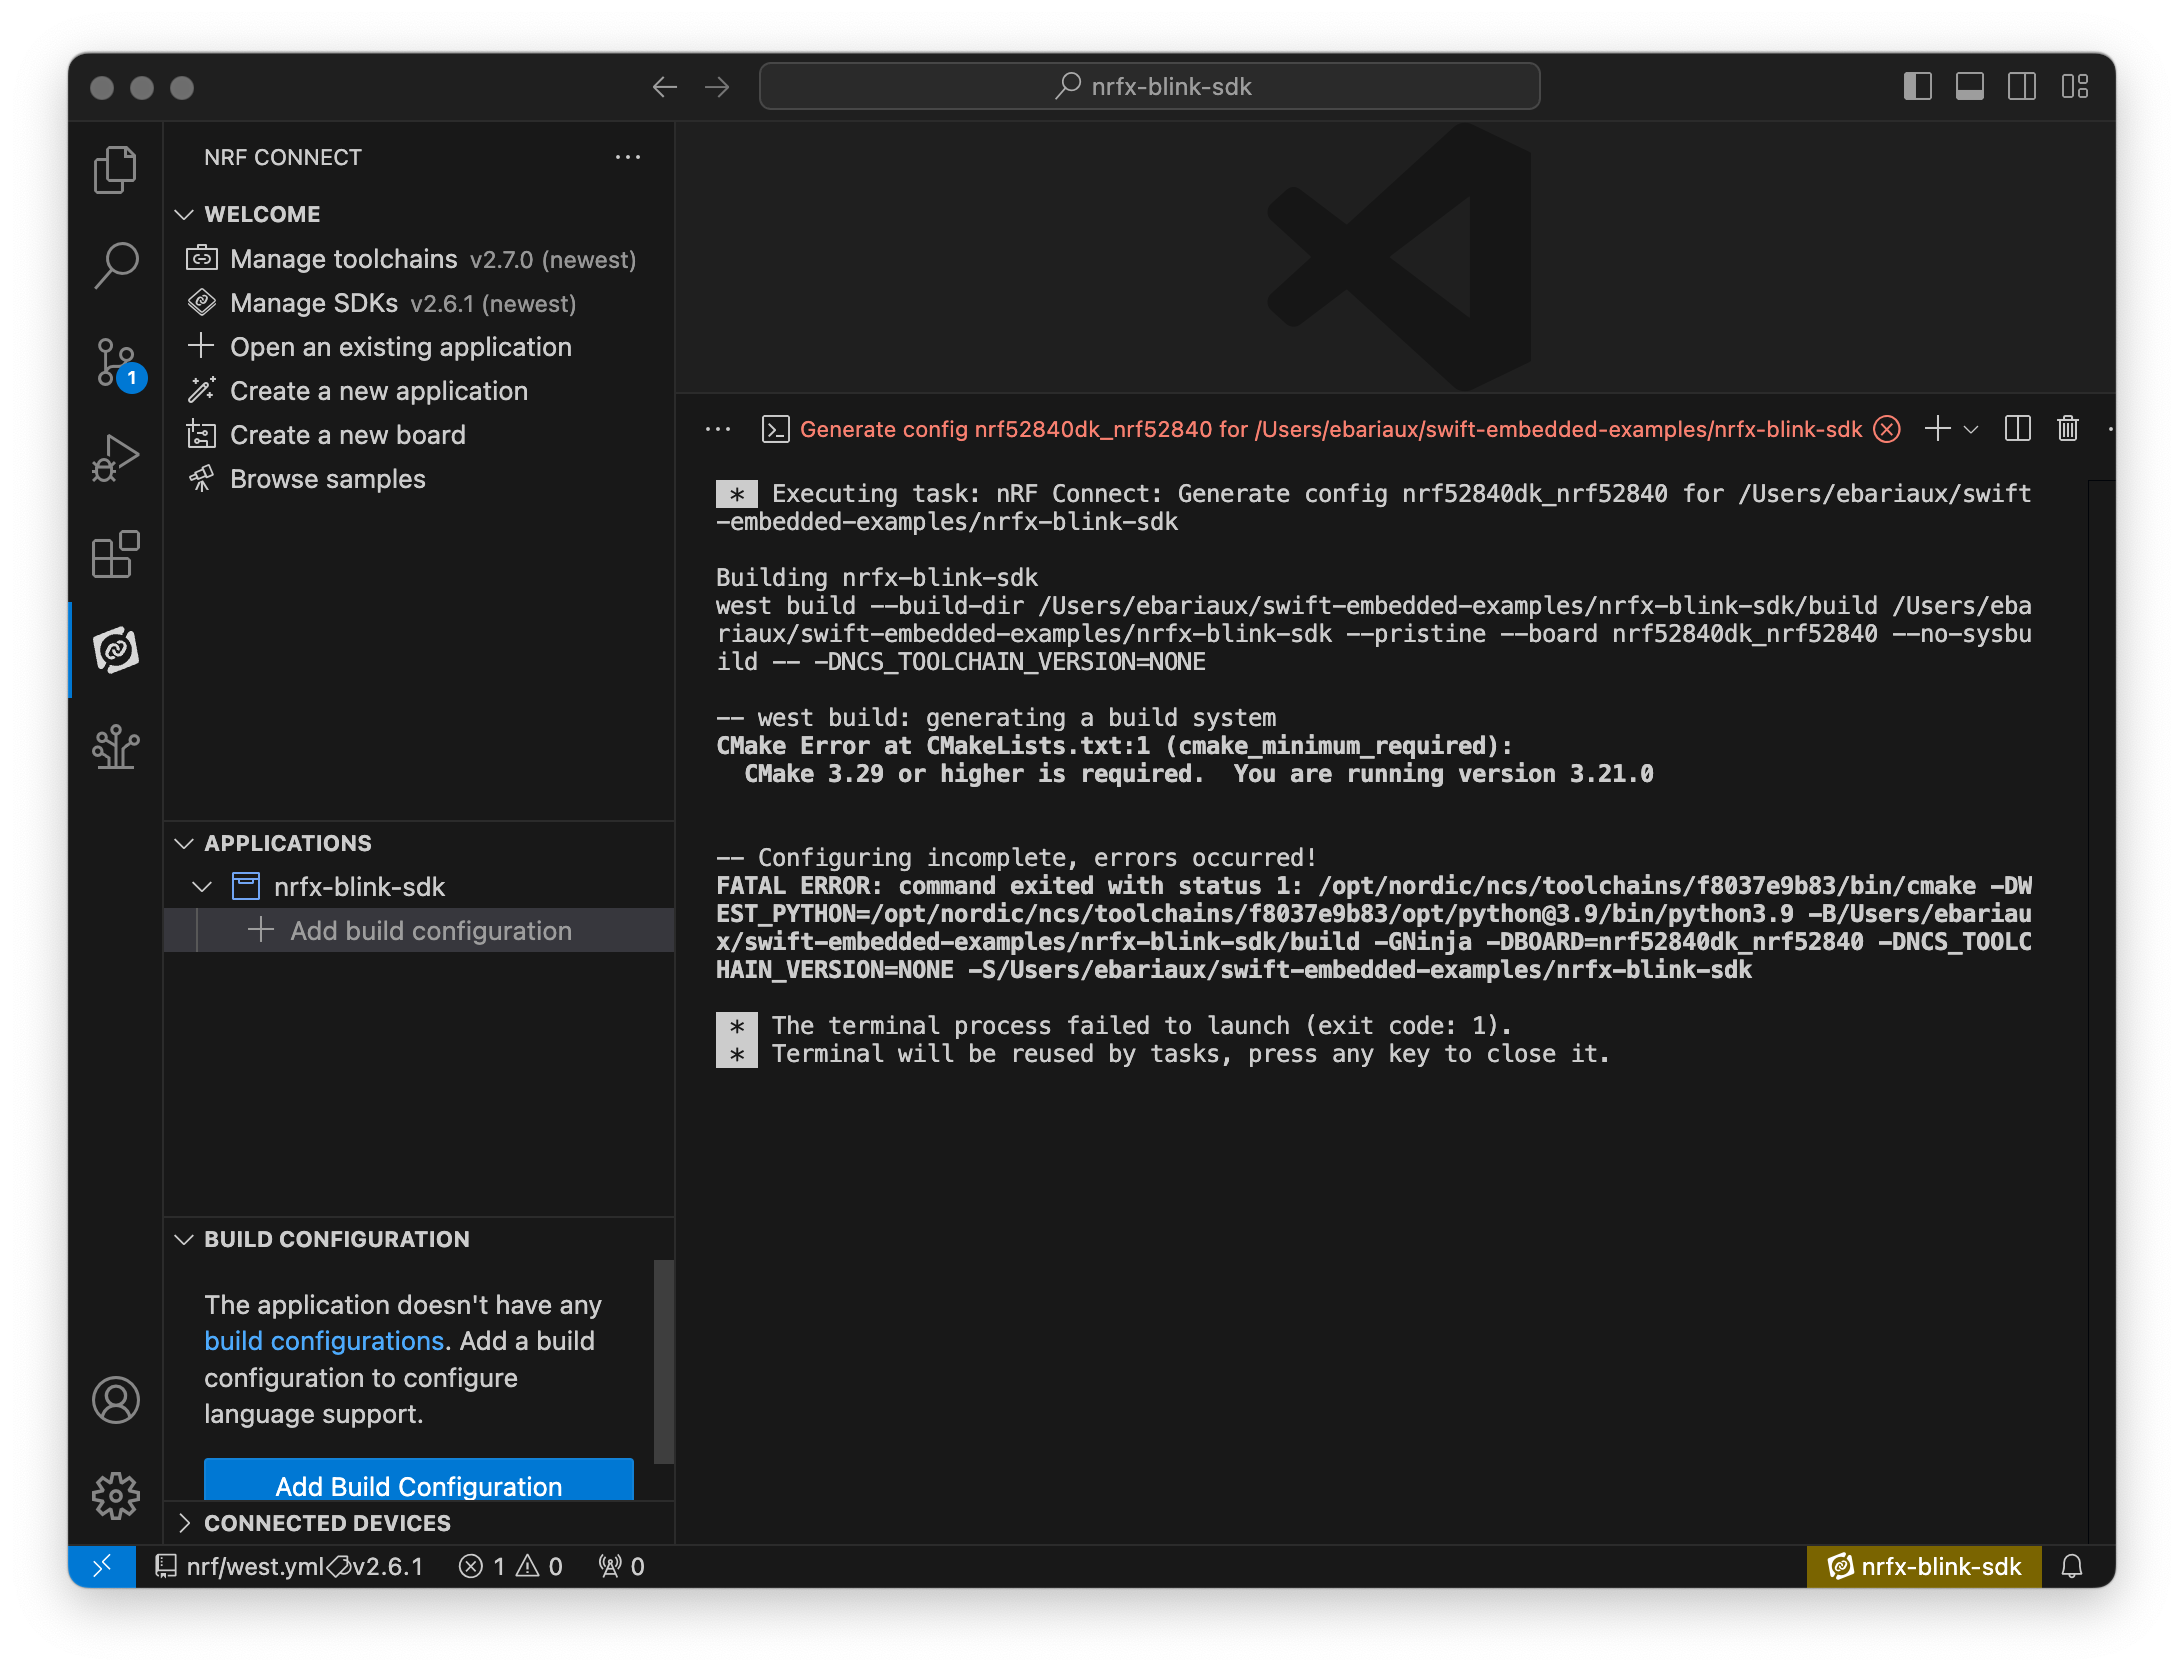
Build error caused by incorrect CMake version
As I did not find a way in VS Code / nRF Connect extension to specify the CMake version to use, I reverted to changing the CMake version within the nRF toolchain using a symbolic link, using the following commands (you will need to adapt paths if you don’t have the exact same versions as I do)
cd /opt/nordic/ncs/toolchains/f8037e9b83/Cellar/cmake
mv 3.21.0 3.21.0.original
ln -s /opt/homebrew/Cellar/cmake/3.30.2 3.21.0
Delete the build folder (this can be done from the Explorer view within VS Code) and re-add the build configuration. It still fails, but with a different error.
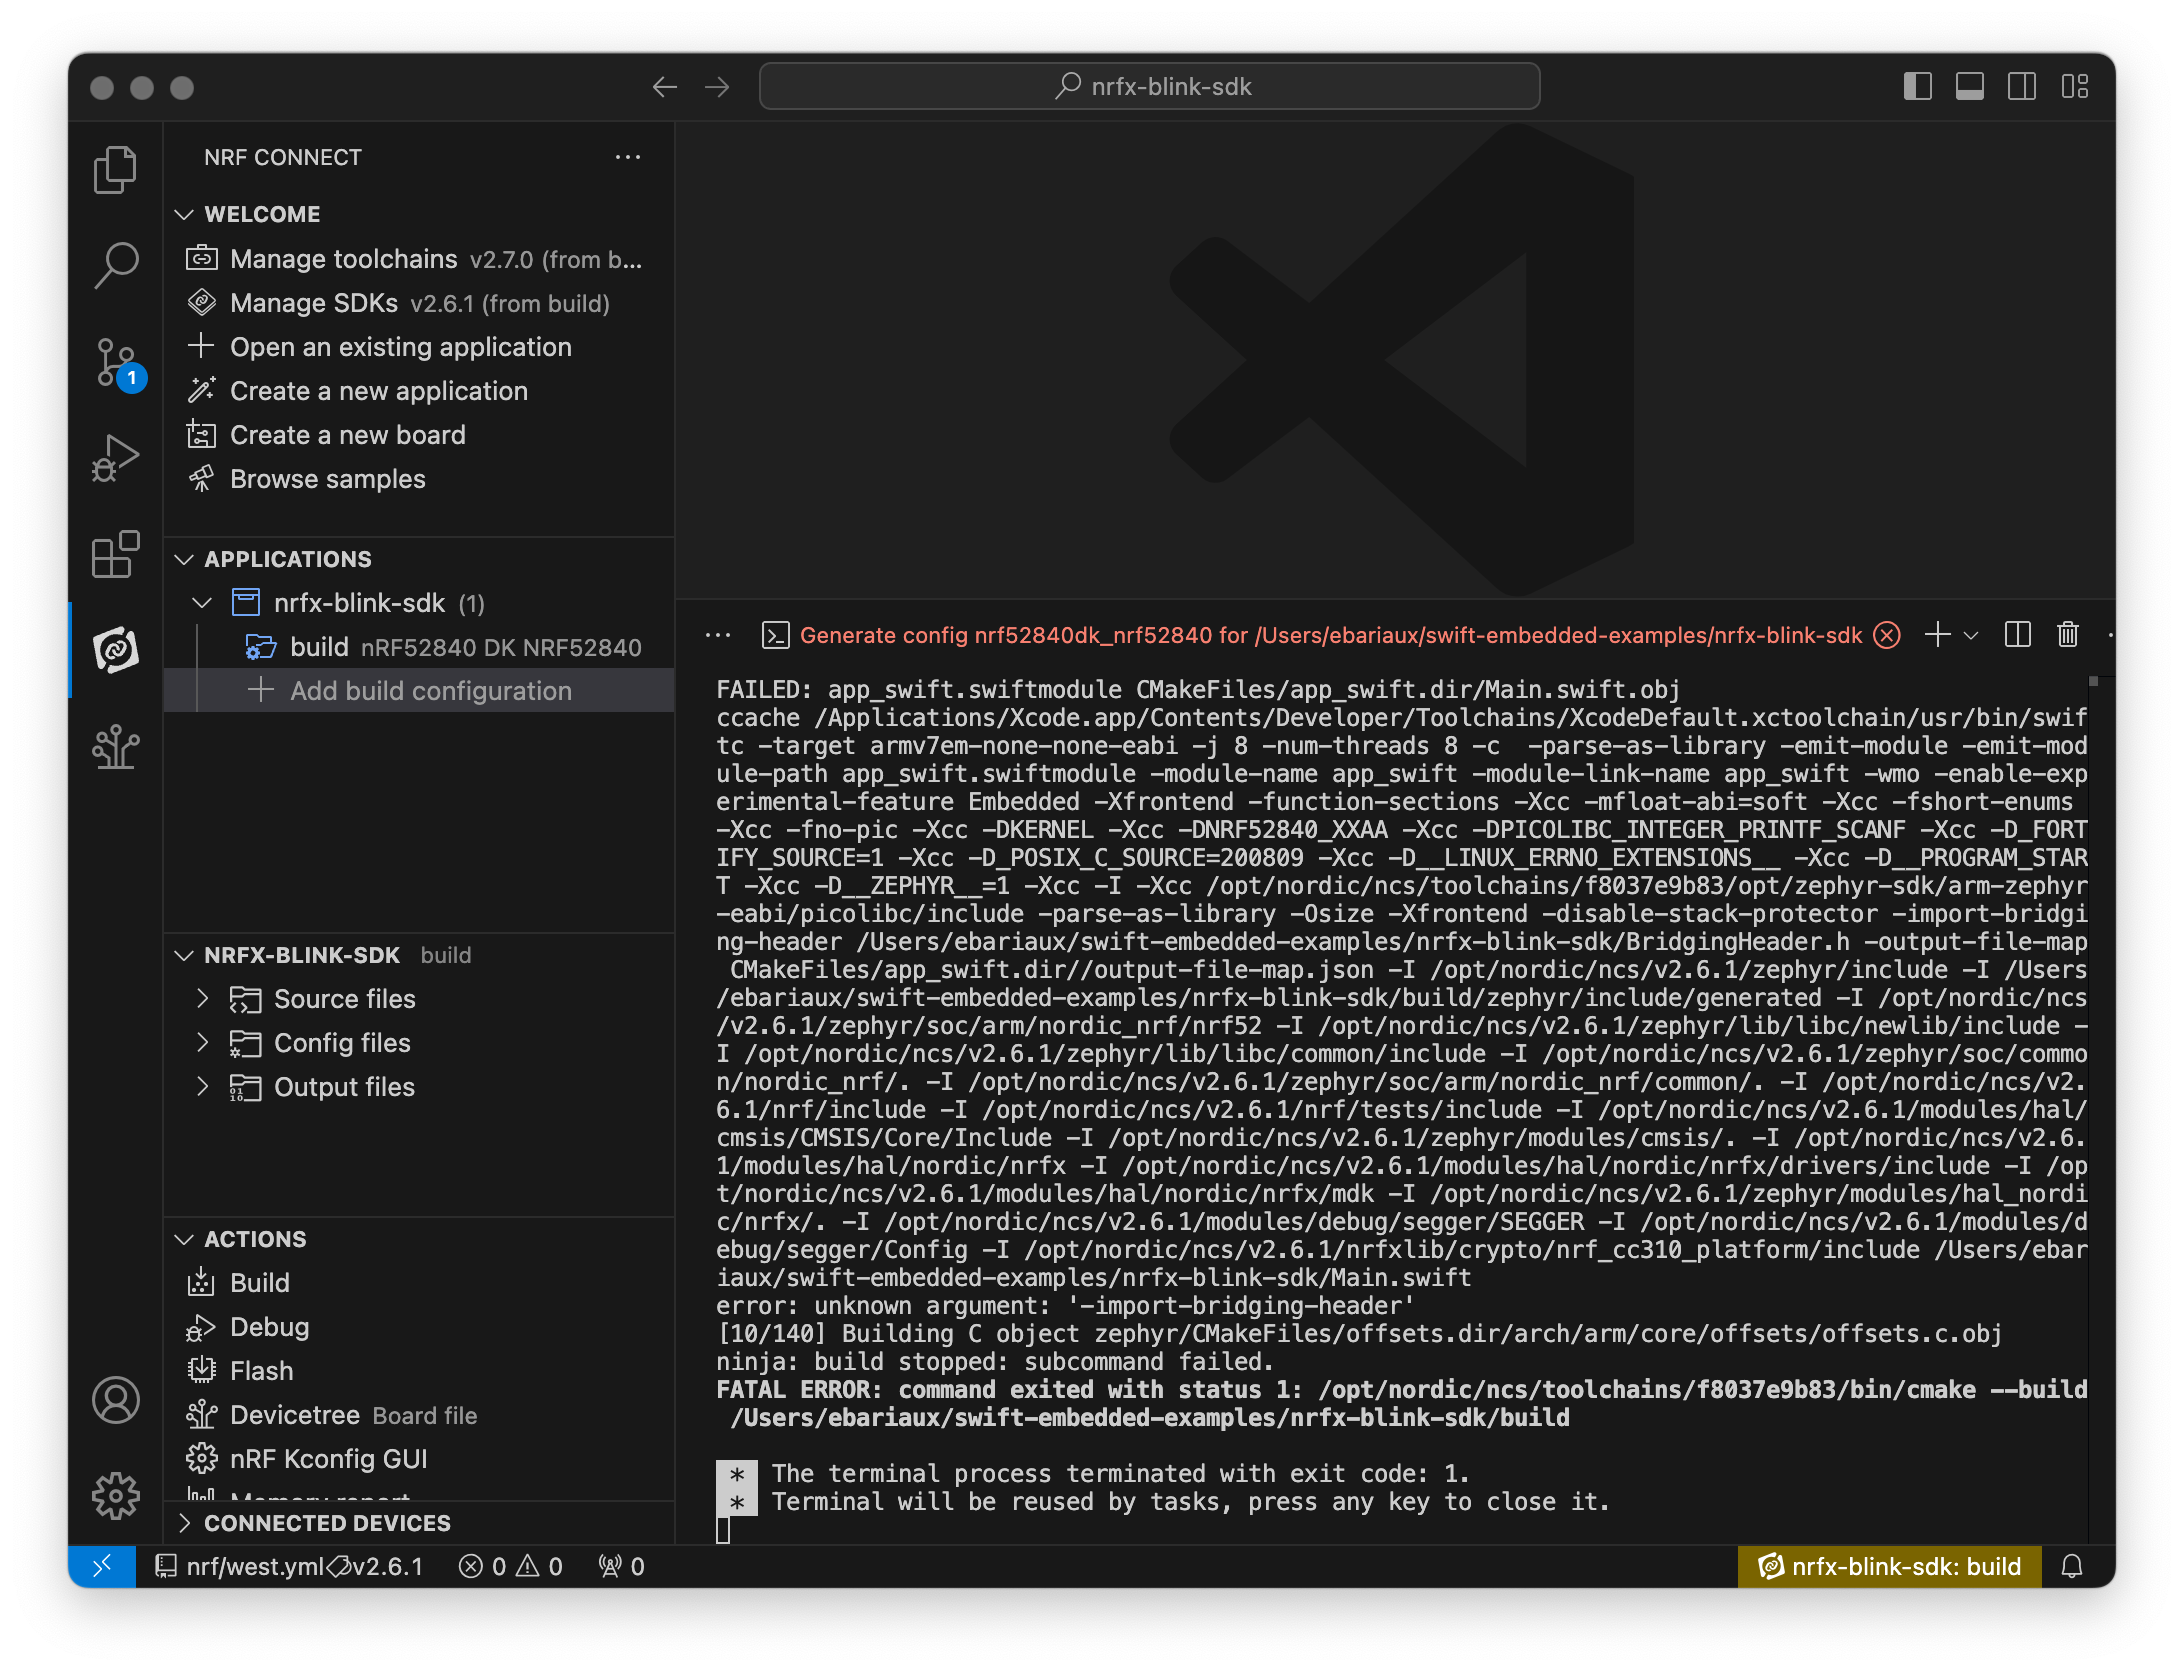
Build error caused by incorrect version of the Swift toolchain
The unknown argument ‘-import-bridging-header’ error is caused by the wrong version of the Swift toolchain being used. We need to use the same “export TOOLCHAINS” as we used above in our terminal examples.
This time, it can be fixed with configuration.
Open Settings (⌘, shortcut), make sure that Workspace (under the search box) is selected to apply changes to your project only and under Extensions, select the nRF DeviceTree entry. Scroll a little bit up and you’ll see a section for West: Env. Click on the “Edit in settings.json” button.
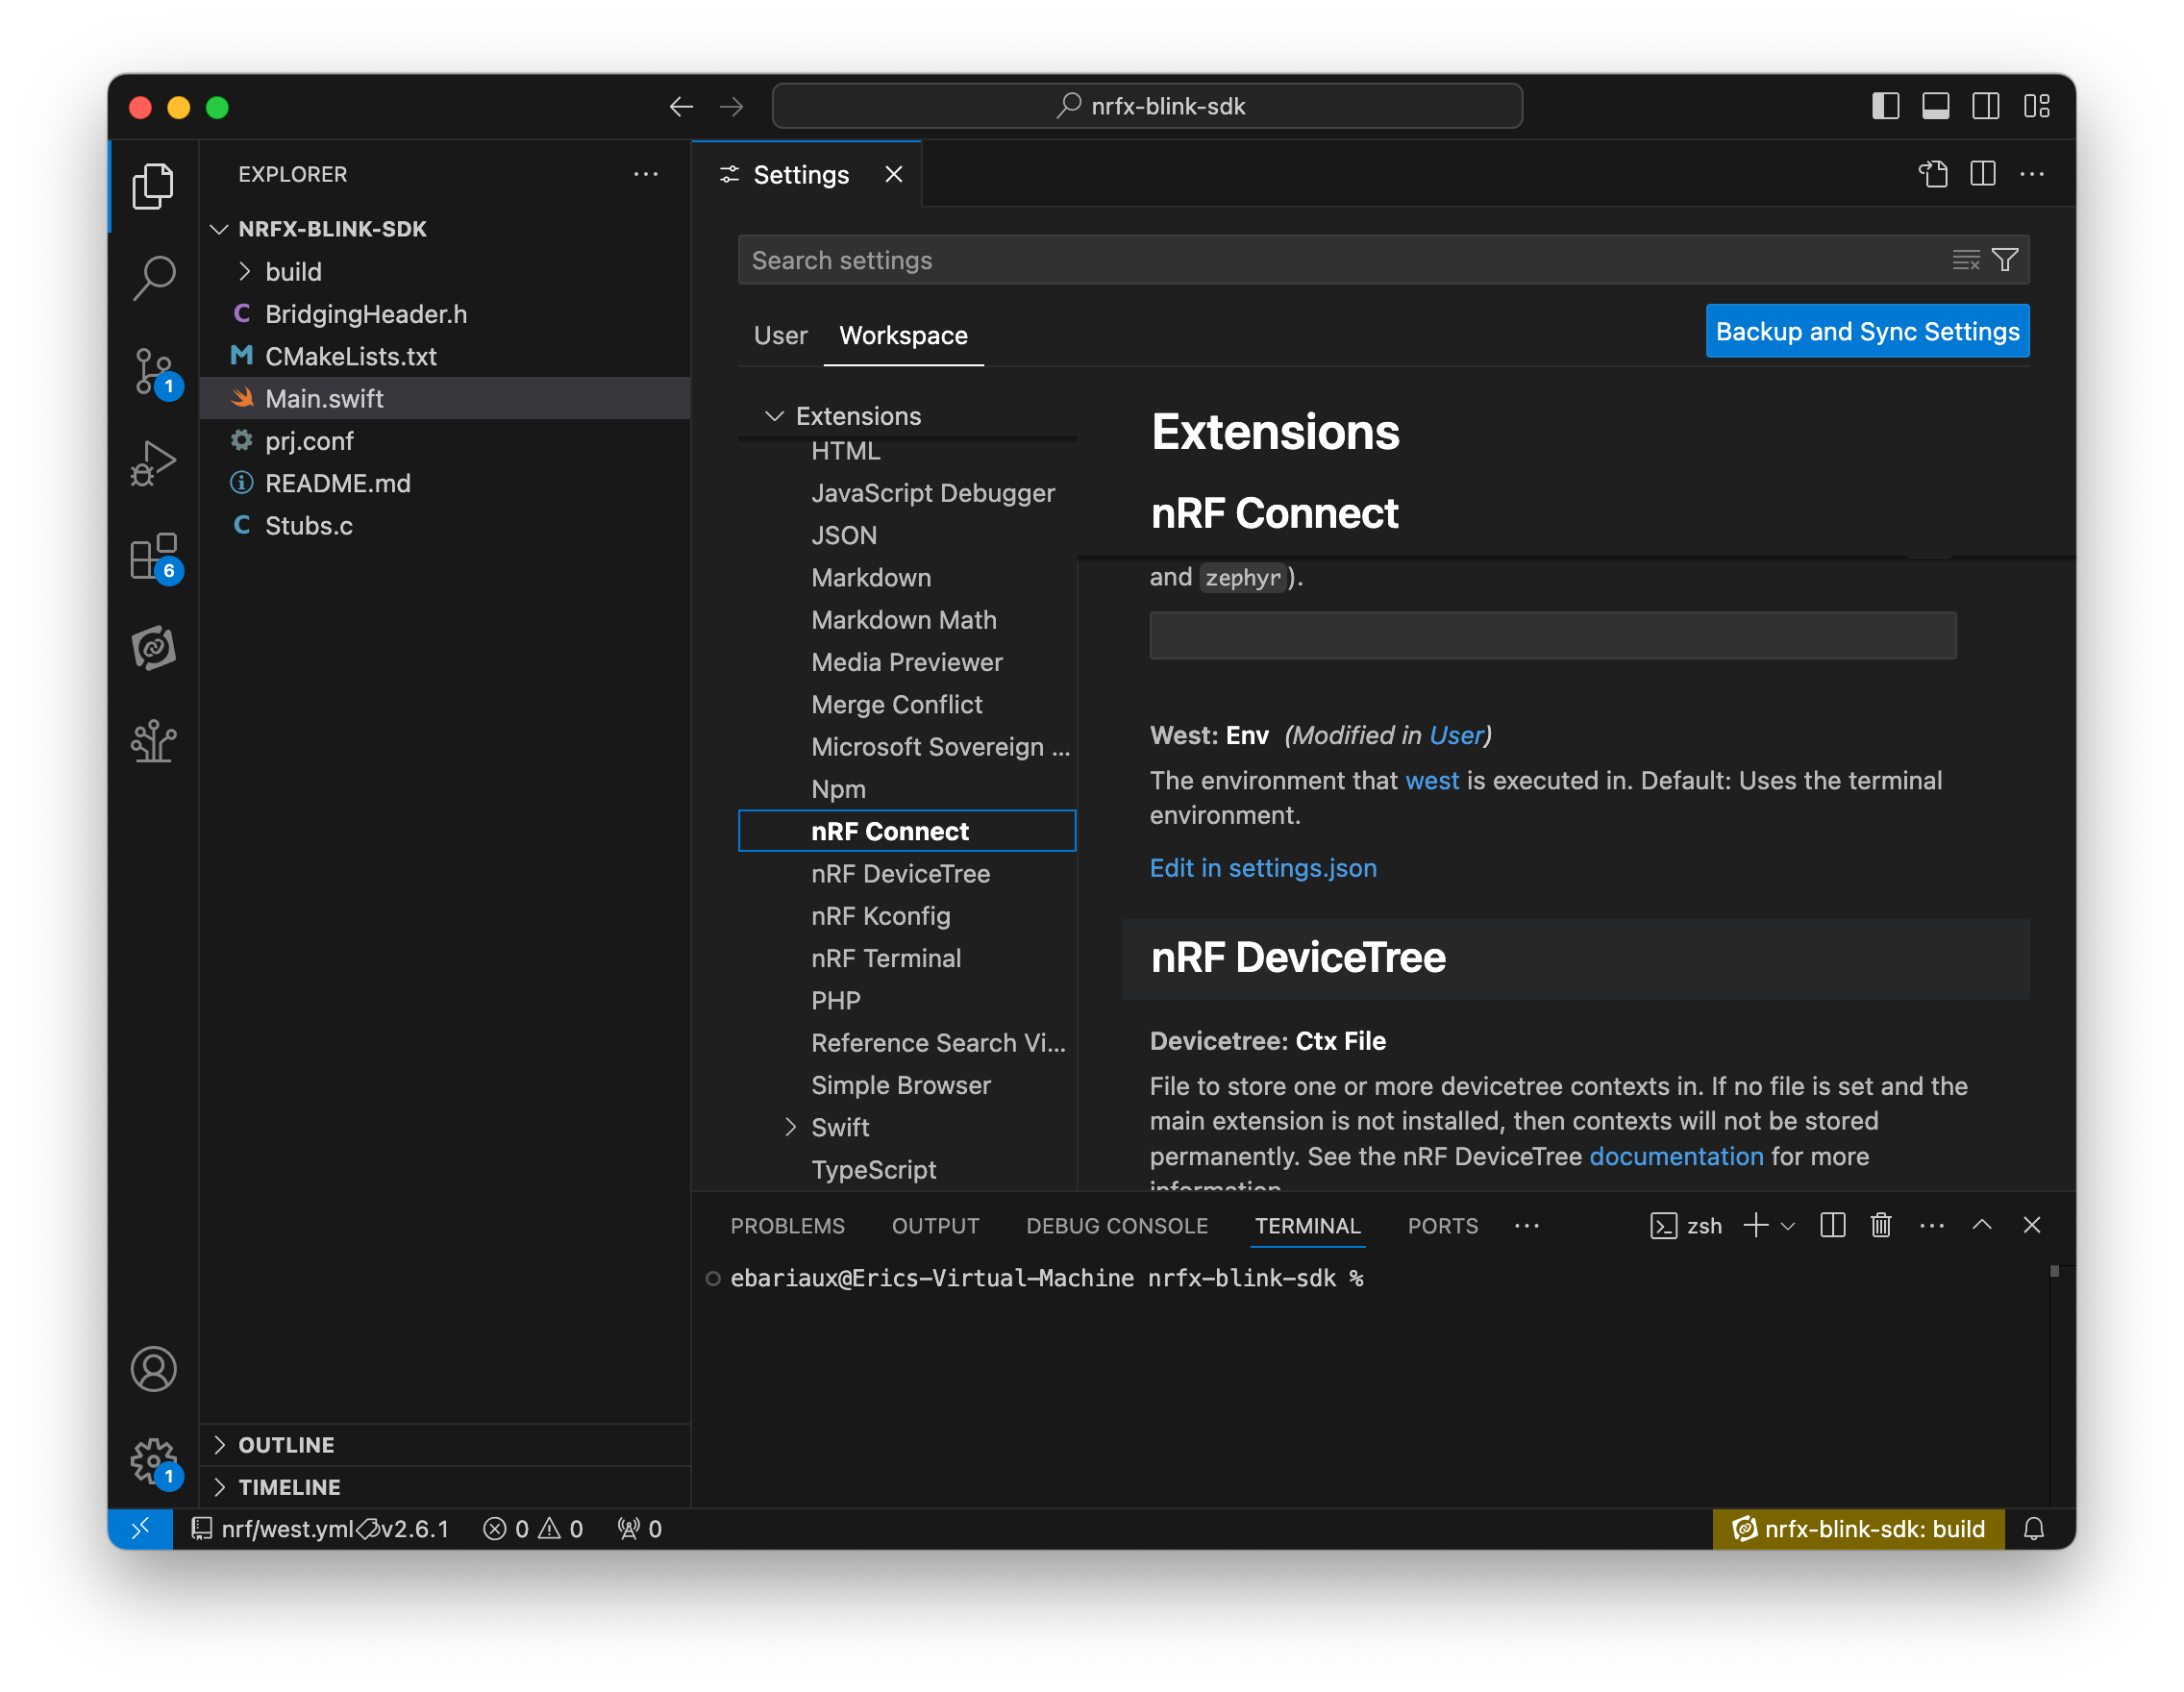
Access the nRF Connect settings within VS Code
This opens up your settings.json file. Add the definition of the TOOLCHAINS environment variable under the “nrf-connect.west.env” key. Your settings.json file should look something like
{
    "nrf-connect.toolchain.path": "${nrf-connect.toolchain:2.6.1}",
    "nrf-connect.west.env": {
        "$base": "terminal",
        "TOOLCHAINS": "org.swift.61202408261a"
    }
}
As above, delete the build folder, re-add the build configuration and now the build should be successful.
You can now use all the actions for the nRF Connect SDK extension within your Swift projects, including, if your setup supports it, flash and debug.
Info
This is the case for the nRF52840 DK board, but it might not always be the case. For instance, with a Seeed Studio XIAO nRF52840 (Sense), you’ll need an external debugger. See Using SWD pins on Seeed Studio XIAO nRF52840 for instructions on how to use an nRF52840 DK as the external debugger.
Working with Swift
We now have the nRF Connect part covered but Swift support is limited to the bare minimum. This is easily fixed by installing the Swift extension. Select the Extensions View from the Activity Bar on the left and search for “Swift”. Install the official extension from the Swift Server Work Group.

Install the Swift extension in VS Code
Once installed, configure the toolchain used by the Swift extension to be the same as the one used in your project. Open the Command Palette (⇧⌘P), type “Swift sel” and select “Swift: Select Toolchain…”. Select the toolchain matching the one you configured in your project. In the next step, select “Workspace Configuration” so the setting only applies to this project also. You’ll need to relaunch the extensions.

Select the proper Swift toolchain for the VS Code Swift extension
Once done, you’ll have syntax highlighting, code completion, code navigation, refactoring and then some.
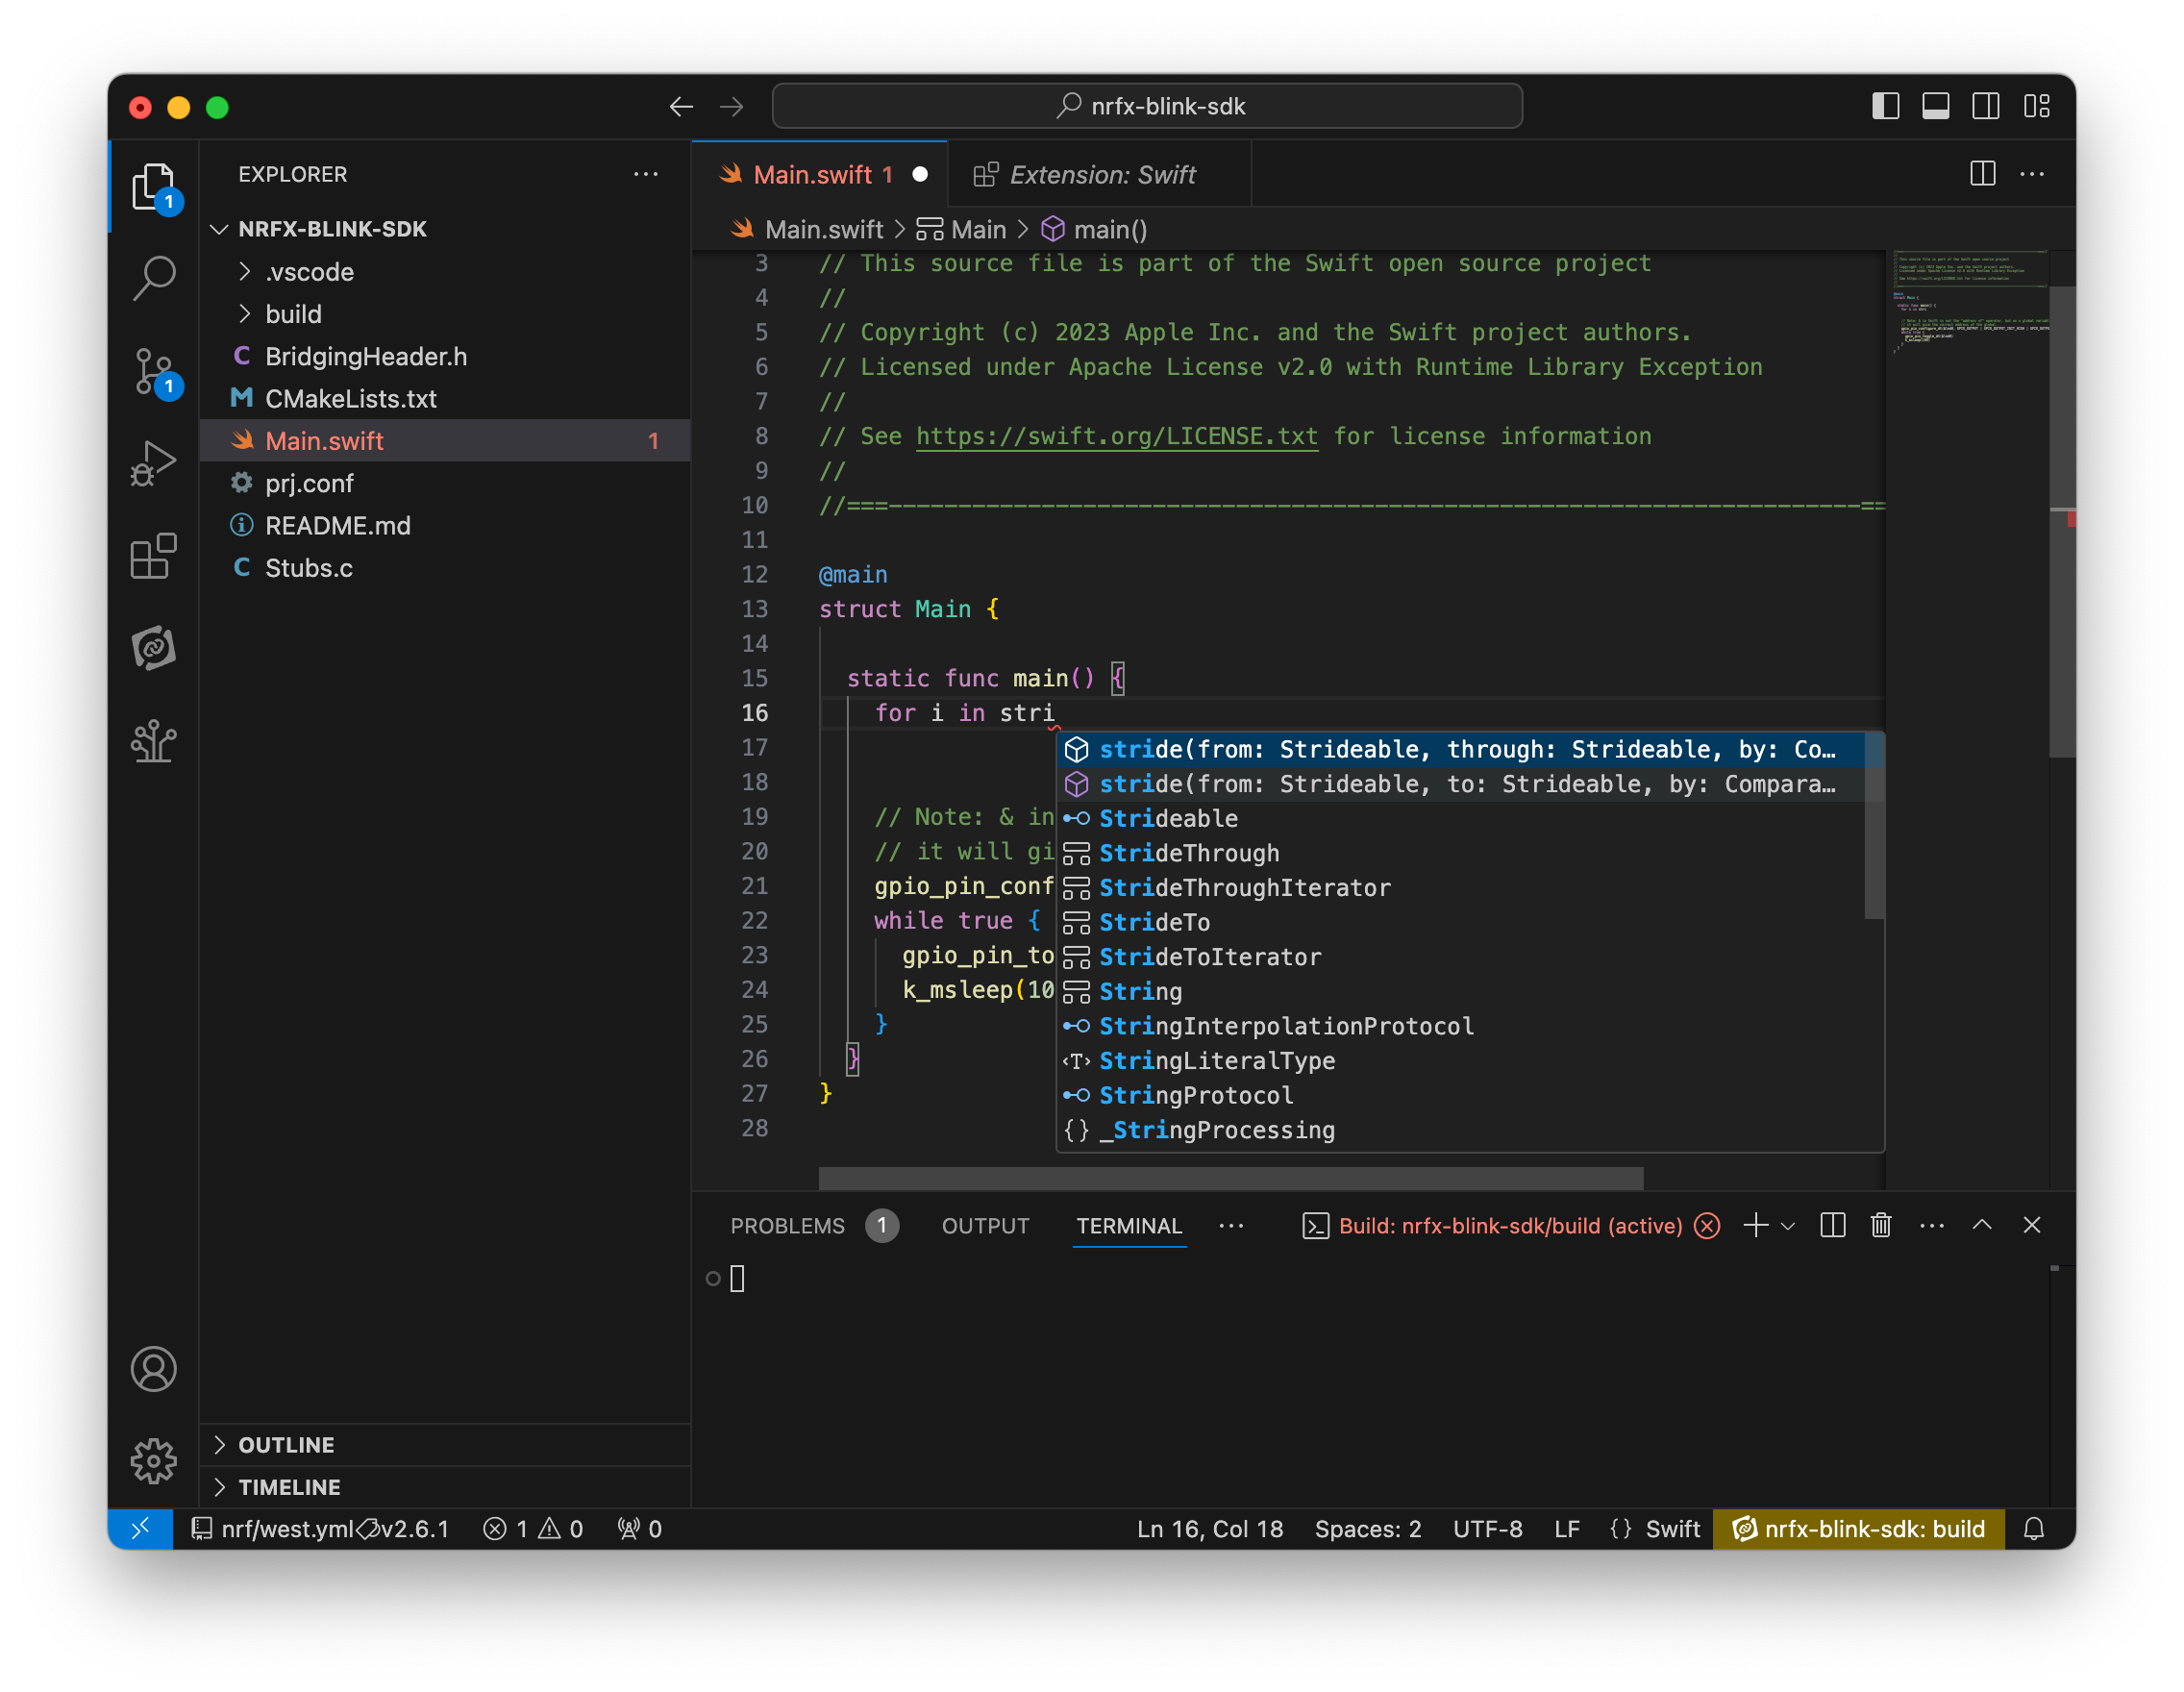
Code completion for Swift code within VS Code
Conclusion
In this post, I’ve explained the steps required to configure a proper development environment for Embedded Swift targeting boards supported by the nRF Connect SDK.
With that in place, you’re in a good starting position to work on your ambitious Embedded Swift projects.
That’s what we’ll do in an upcoming series of posts, starting from the blink example and taking it much further.